
|
Do it yourself
| |||
| ||||


Instructions for Removing the Intercooler
Model: Mazda Cx7
MK 1
- Years 2006-2012
The intercooler, or charge cooler, is a heat exchanger of the air/air or air/water type, which cools the air entering the engine to ensure it is at the optimal temperature for combustion. It is installed between the turbocharger and the engine, with the cooling radiator generally positioned at the front of the vehicle or under the bonnet, near a dedicated air intake. The turbocharger uses the rotation generated by the exhaust gases exiting the manifold to compress the intake air, allowing for superior performance compared to naturally aspirated internal combustion engines. However, the rapid compression of the air increases its temperature, reducing its density and thus limiting the amount of air drawn into the engine. The high temperatures of the exhaust gases that spin the turbine also heat the turbo, which transfers additional heat to the intake air. The intercooler, through its cooling circuit, reduces the air temperature, thereby increasing its density (cold air occupies less volume than hot air) and increasing, at the same pressure, the amount of oxidiser in the combustion chamber, improving the overall efficiency of the engine in terms of fuel consumption, performance, and reliability (some components are subjected to lower thermal stresses).
With this background, removing the intercooler from the vehicle in question is extremely simple: it is located right on top of the engine and it is sufficient to disconnect the inlet and outlet hoses and the respective fastening screws.
Updated on 15 February 2026 by ScegliAuto
Video tutorial
Related tutorials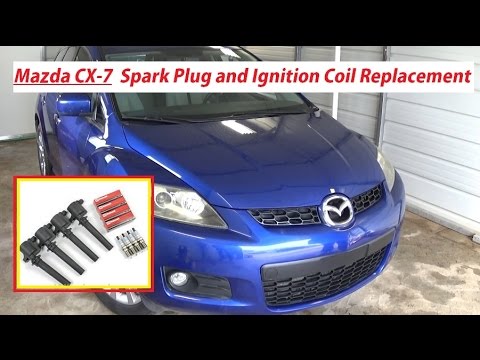
Mazda Cx7
(2006-2012 /
MK 1)
It is recommended to perform this maintenance with the engine cold to avoid unpleasant burns; to access the spark plug seats, first remove the plasti…
Mazda Cx7
(2006-2012 /
MK 1)
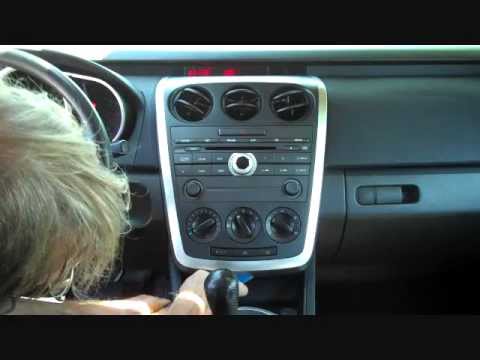
First, move the gear lever back to facilitate the removal process. Using a small plastic lever, detach the trim around the car radio and climate cont…
Mazda Cx7
(2006-2012 /
MK 1)
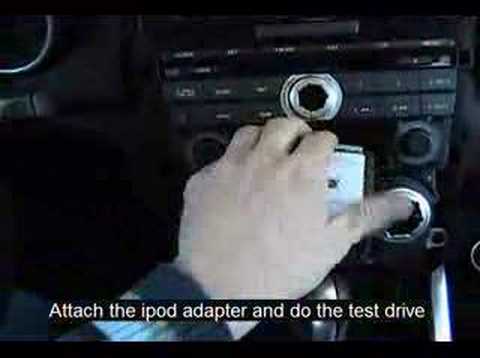
Using a small flathead screwdriver, detach the trim surrounding the two knobs of the car radio and the one with the aluminium edge of the central con…
Other guides you may be interested in
|
How to Remove the CV Boot on Fiat Panda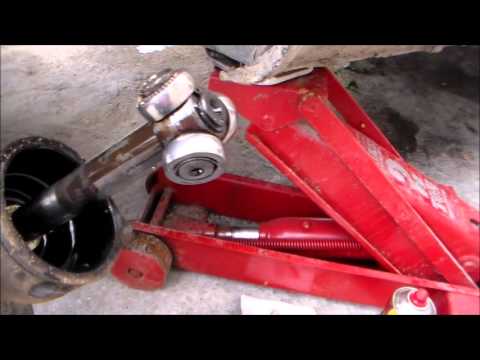
Let’s see how to remove the boot from the joint on a Fiat Panda. After positioning your car on a column lift: raise it to a comfortable height to work on, loosen the wheel nuts (using a socket wrench or air drill) and remove the wheel. Begin unscrewing the brake disc bolts with a socket wrench. Remove the bolts located under the disc and completely detach the wheel hub. Pull the arm around the joint with your hands. Fit the new boot (after removing the old one) onto the constant velocity joint, then start reassembling all the parts in reverse order. by ScegliAuto More videos
|
|
For advertising on this site Write to info@scegliauto.com
ScegliAuto is not responsible for any inaccuracy of the data in the lists. To report any inaccuracy or your business (if you own the business in question), please write to info@scegliauto.com
Number of seconds to generate the page: 0.055
(c) ScegliAuto 2026 - info@scegliauto.com - Privacy policy VAT number: IT01247470535 |