
|
Do it yourself
| |||
| ||||


Front Shock Absorber Replacement
Model: Mercedes Classe E
W210
- Years:
1995, 1996, 1997, 1998, 1999, 2000, 2001, 2002
Video tutorial
Generally, the shock absorber consists of a damper (or gas spring) placed inside a coil spring: in the case of this vehicle, however, the spring and damper are separate, making the replacement of the damper much simpler since you do not need special clamps to compress the spring; before proceeding with disassembly, position a jack under the suspension to support it during the removal of the damper; then, remove the fastening bolt at the bottom and access the engine compartment to unscrew the nut securing the stem to the strut while holding the stem steady with a locking pliers; once the damper is removed, reverse the steps to install the new one. It is generally recommended to replace both shock absorbers and not just one to ensure greater uniformity.
Updated on 13 February 2026 by ScegliAuto
Related tutorials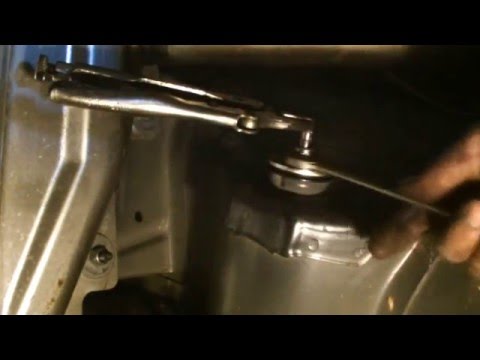
Mercedes Classe E
(1995-2002 /
W210)
Replacing the rear shock absorber is extremely simple since the spring is not integrated into the shock absorber itself, so there is no need for spec…
Mercedes Classe E
(1995-2002 /
W210)
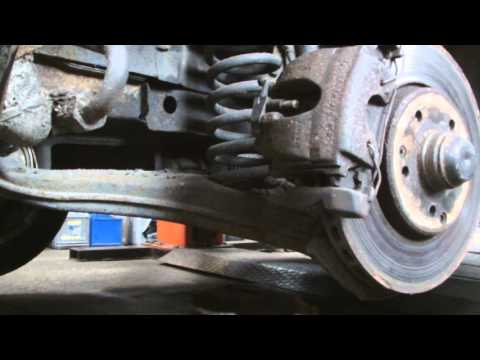
First, after positioning the car on a lift or jack stands, loosen the bolt that secures the shock absorber to the hub, which is the lower end of the …
Mercedes Classe E
(1984-1995 /
W124)
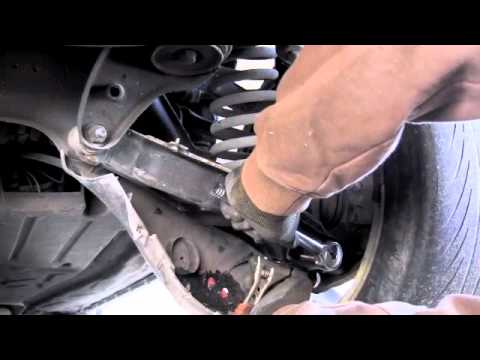
Lift the vehicle at the wheel where the repair will be made until the tire slightly lifts off the ground: it is not necessary to remove the wheel (fo…
Other guides you may be interested in |
How to Remove the Rear Seat of a Hyundai Tucson?
To remove the rear seat of a Hyundai Tucson, follow these steps. Start by moving the front seats to their most forward position to gain space. Next, locate the release lever on the underside of the rear seat, near the floor. Press this lever down while pulling the seat upwards to unlock it from the anchor pins. Once unlocked, tilt the seat upwards and forwards to remove it from its position. Repeat this process for both sides of the rear seat. Be careful of any electrical cables or components that may be connected to the seat during removal. Once the rear seat is removed, the disassembly is complete. by ScegliAuto More videos
|
|
For advertising on this site Write to info@scegliauto.com
ScegliAuto is not responsible for any inaccuracy of the data in the lists. To report any inaccuracy or your business (if you own the business in question), please write to info@scegliauto.com
Number of seconds to generate the page: 0.020
(c) ScegliAuto 2026 - info@scegliauto.com - Privacy policy VAT number: IT01247470535 |
