
|
Do it yourself
| |||
| ||||



How to Replace Brake Pads on Mercedes A-Class with Electronic Parking Brake
Model: Mercedes Classe A
W176
- Years:
2012, 2013, 2014, 2015, 2016, 2017, 2018
Video tutorial
In this video tutorial, you will see how to replace the brake pads and rear brake rotor on a Mercedes A-Class with an electronic parking brake, following the guide in the vehicle's owner's manual. First, lift the hood and secure it with the prop rod. Next, unscrew the cap that contains the brake fluid and cover it with a cloth. Put the brakes in position for replacement. After this procedure, remove the wheel and start disassembling the brake caliper; to remove the caliper, work on the 13 mm bolt and then the 17 mm bolt, and unscrew the outer bolt; once this is done, you can extract the caliper, taking care not to bend the hoses. To also replace the brake rotor, unscrew the screw using a T30 Torx wrench; before removing the rotor, it is necessary to remove the brake caliper bracket, for which you will need an E18 socket to loosen the screws. Once the screws are loosened, you can remove the caliper bracket.
Updated on 14 July 2026 by ScegliAuto
Related tutorials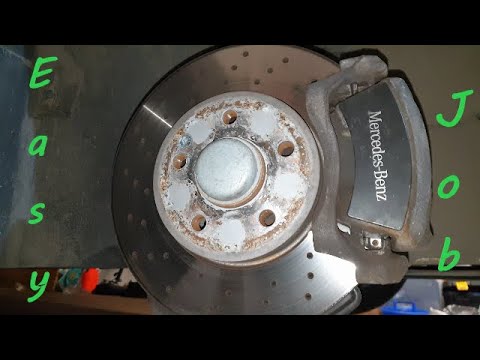
Mercedes Classe A
(2012-2018 /
W176)
Before you begin, lift the front of your Mercedes A-Class. Start by removing the front wheel by loosening the lug nuts. After this, remove the bolts …
Mercedes Classe A
(2012-2018 /
W176)
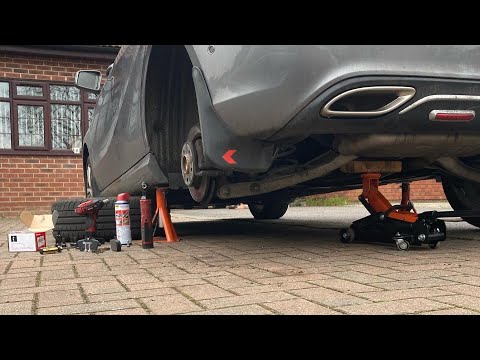
To replace the rear brake pads on a Mercedes A-Class, lift the vehicle using a jack so that the corresponding wheel is off the ground. Once the vehic…

Mercedes Classe A
(2004-2012 /
W169)
In this video tutorial, you can see how to replace the rear brake pads on the Mercedes W169. This vehicle has a system with shoes inside the rotor, s…
Other guides you may be interested in
|
How to Open the Hood of the BMW X3
Today, you will learn how to open and close the hood of the BMW X3. To perform this simple operation, lift the hood release lever located next to the door seal on the driver’s side. After pulling the lever, you will notice that the hood will lift slightly. Position yourself in front of the hood and lift it after moving the internal lever from left to right. To keep the hood secure during maintenance, use the side support rod. To close the hood, simply let it fall back into place. by ScegliAuto More videos
|
|
For advertising on this site Write to info@scegliauto.com
ScegliAuto is not responsible for any inaccuracy of the data in the lists. To report any inaccuracy or your business (if you own the business in question), please write to info@scegliauto.com
Number of seconds to generate the page: 0.036
(c) ScegliAuto 2026 - info@scegliauto.com - Privacy policy VAT number: IT01247470535 |
