
|
Do it yourself
| |||
| ||||


How to Replace the Rear Brake Pads on the Mercedes A-Class W169
Model: Mercedes Classe A
W169
- Years 2004-2012
In this video tutorial, you can see how to replace the rear brake pads on the Mercedes W169. This vehicle has a system with shoes inside the rotor, so the parking brake does not act directly on the caliper. This disassembly procedure is valid only for the A-Class W169 and B-Class 245. First, lift the vehicle with a jack and safety stands. Now, remove the rear wheel as shown in the video. Next, remove the brake caliper using a 15 mm and a 13 mm wrench and a screwdriver. Start by loosening the caliper with the screwdriver, inserting it between the caliper and the pad. Once the caliper is free, take the 15 mm and 13 mm wrenches and remove the bolts as shown in the video to take off the caliper. After removing the caliper, check that the guide pins are moving freely; otherwise, the pads will wear unevenly. Now, remove the old pads and replace them with the new ones, then reassemble all parts in reverse order.
Updated on 17 June 2026 by ScegliAuto
Video tutorial
Related tutorials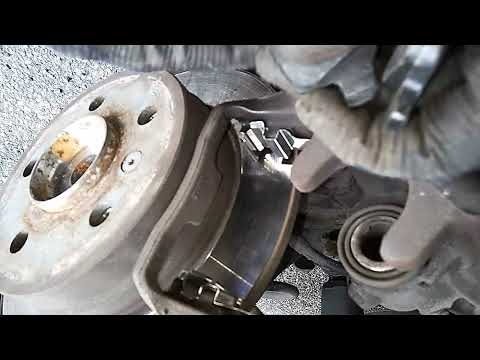
Mercedes Classe A
(2004-2012 /
W169)
.. to replace the rear brake pads on a Mercedes A-Class W169: First, remove the rear wheels and lift the vehicle securely on jack stands (do not rely solely.. …
Mercedes Classe A
(2004-2012 /
W169)
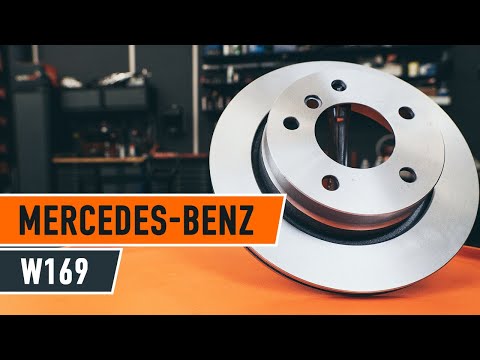
Replacing the rear brake pads on your car? Let's see how to replace the rear brake pads. Lift the vehicle with a jack to the desired height, then rem…
Mercedes Classe A
(2012-2018 /
W176)
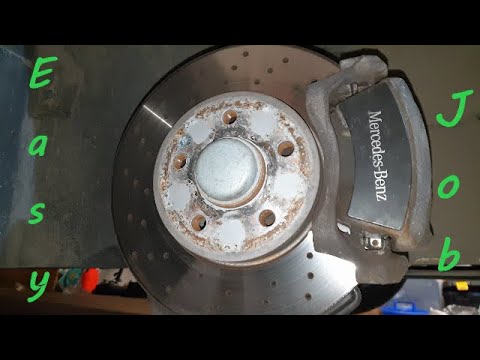
Before you begin, lift the front of your Mercedes A-Class. Start by removing the front wheel by loosening the lug nuts. After this, remove the bolts …
Other guides you may be interested in
|
How to Reset the Tyre Pressure Light on the Opel Grandland X
While driving, if you notice the tyre pressure warning light coming on, first check the actual inflation pressure of the tyres and, if necessary, restore the pressures recommended by the manufacturer. After restoring the correct pressures, you need to reset the warning light that has illuminated on the instrument cluster. To do this, locate the reset button on the lower central console. Press this button and hold it down for at least 3 seconds, after which the low pressure indication will turn off. by ScegliAuto More videos
|

|
For advertising on this site Write to info@scegliauto.com
ScegliAuto is not responsible for any inaccuracy of the data in the lists. To report any inaccuracy or your business (if you own the business in question), please write to info@scegliauto.com
Number of seconds to generate the page: 0.390
(c) ScegliAuto 2026 - info@scegliauto.com - Privacy policy VAT number: IT01247470535 |
