
|
Do it yourself
| |||
| ||||


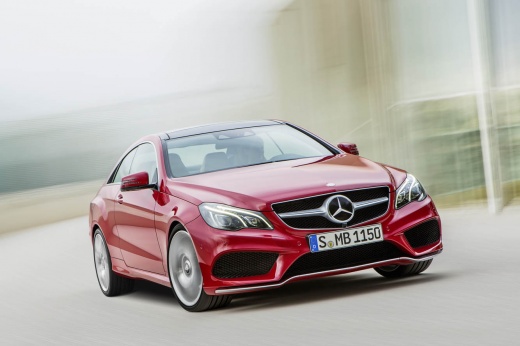
Installing LED Interior Lights
Model: Mercedes Classe E
W212
- Years:
2009, 2010, 2011, 2012, 2013, 2014, 2015, 2016
Video tutorial
Replacing the original interior lights with LED ones will improve internal visibility and enhance the appearance of the interior, making the cabin more modern and appealing. Before starting, obtain a plastic trim tool to unclip the light fixtures without damaging them. Begin by unclipping the front dome light near the rearview mirror and replace the bulbs. Ensure they light up correctly before reattaching. Proceed in the same manner for the rear dome light. Move on to the vanity lights under the sun visors: if the bulb does not light, rotate it 180 degrees (LEDs have a polarity that must be respected). Finish with the glove compartment light, the sill lights, and finally the courtesy lights under the door panels.
Updated on 17 February 2026 by ScegliAuto
Related tutorials
Mercedes Classe E
(2002-2009 /
W211)
In this video tutorial, you will learn how to remove the interior light fixture on a Mercedes Benz E-Class W211, fourth generation. First, get inside…

Mercedes Classe E
(2009-2016 /
W212)
To replace the interior light bulb in a Mercedes E-Class, use a tool like a screwdriver to pry the light fixture from its housing. Once it is removed…

Mercedes Classe E
(1995-2002 /
W210)
Removing the dashboard of the E-Class, both the lower and upper parts, is not particularly difficult as long as you know where the screws are located…
Other guides you may be interested in
|
How to Remove the Rear Seat of a Hyundai Tucson?
To remove the rear seat of a Hyundai Tucson, follow these steps. Start by moving the front seats to their most forward position to gain space. Next, locate the release lever on the underside of the rear seat, near the floor. Press this lever down while pulling the seat upwards to unlock it from the anchor pins. Once unlocked, tilt the seat upwards and forwards to remove it from its position. Repeat this process for both sides of the rear seat. Be careful of any electrical cables or components that may be connected to the seat during removal. Once the rear seat is removed, the disassembly is complete. by ScegliAuto More videos
|
|
For advertising on this site Write to info@scegliauto.com
ScegliAuto is not responsible for any inaccuracy of the data in the lists. To report any inaccuracy or your business (if you own the business in question), please write to info@scegliauto.com
Number of seconds to generate the page: 0.017
(c) ScegliAuto 2026 - info@scegliauto.com - Privacy policy VAT number: IT01247470535 |
