
|
Do it yourself
| |||
| ||||


How do you replace the lambda sensor of the Mini Cooper?
Model: Mini Mini
R55, R57, R56
- Years 2007-2014
To replace the lambda sensor of the Mini Cooper, you will need to open the hood in order to access the components in the engine compartment: once these have been identified, you will be able to find the sensor on the bottom left near the exhaust manifold. You will need to disconnect it from the corresponding connector and remove it from the support screws: this way you will be able to completely remove the old lambda sensor to install the new one. The new sensor will also need to be connected and its operation verified.
Posted on 17 February 2025 by ScegliAuto
Video tutorial
Related tutorials
…

Mini
(2007-2014 /
R55, R57, R56)
Let's see how to replace the oxygen sensor, also known as the "lambda sensor" on a Mini R56. Its main task is to measure the amount of oxygen present…

…
Other guides you may be interested in
|
Replacing H7 Bulb in an Opel Meriva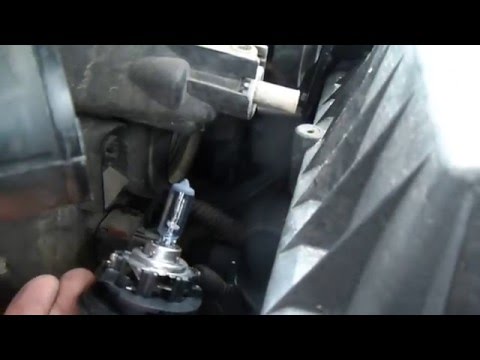
Are the front headlight bulbs of your Opel Meriva out? Let's see how to proceed with the removal in this tutorial video. Open the bonnet and secure it, then remove the inspection caps from the headlights (at the back of the headlights) using a screwdriver or pliers. Disconnect the bulb holders from the headlight and disconnect the relevant power connectors. Replace the damaged bulbs with new ones (same size and voltage). After replacing the bulbs, refit the bulb holder into the headlight housing. Finally, close the back of the headlights with the inspection caps. Test the correct functioning of the lights by turning on the ignition. by ScegliAuto More videos
|

|
For advertising on this site Write to info@scegliauto.com
ScegliAuto is not responsible for any inaccuracy of the data in the lists. To report any inaccuracy or your business (if you own the business in question), please write to info@scegliauto.com
Number of seconds to generate the page: 0.050
(c) ScegliAuto 2026 - info@scegliauto.com - Privacy policy VAT number: IT01247470535 |