
|
Do it yourself
| |||
| ||||


How to replace the emblem on the alloy wheels of the Mini.
Model: Mini Mini
R53, R50, R52
- Years 2001-2007
Let's see how to replace the emblem located inside the alloy wheel of the Mini. First, we need to find the adhesive emblems that we like the most, and they must also be the correct size for our wheel. There are all kinds available online, so we believe it's unnecessary to provide a purchase recommendation, as this depends on personal taste.
We clean the wheel thoroughly and then remove all the glue residue from the inside of the wheel; if necessary, we use fine-grit sandpaper to completely remove it. We degrease thoroughly with isopropyl alcohol and accurately measure the diameter of the housing, so we can purchase the right item: the best ones are made of stamped aluminum, and when we remove the adhesive from the back, we must be very careful not to touch it with bare hands. It's very important to work at a mild temperature: excessive cold or heat reduces the adhesiveness of automotive double-sided tape, which is the only one capable of providing a uniform seal; we should not combine it with all-purpose glue, super glues, or silicone. Before washing the car, we should wait at least 72 hours.
Posted on 3 January 2026 by ScegliAuto
Video tutorial
Related tutorials
Mini
(2007-2014 /
R55, R57, R56)
In this video, we see how to replace the damaged Mini emblem on a Mini Cooper. The logo can be easily found on any e-commerce platform, for example o…
Mini
(2001-2007 /
R53, R50, R52)
With exposure to the sun and atmospheric agents, it is very likely that the manufacturer's emblem will deteriorate after some time. If you are going …

Mini
(2010-2016 /
R60, Countryman1)
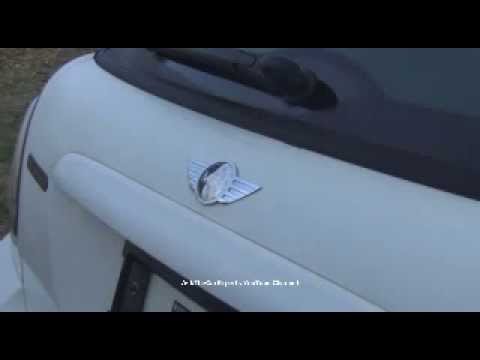
In this video we can see how to replace the Mini emblem located on the rear trunk handle of the R60 Countryman: we can find it for example on Amazon …
Other guides you may be interested in
|
Installation of Upgraded Intercooler Radiator with Pipes
Lift the vehicle on suitable axle stands, remove the front wheels, and then the front bumper and grille. Proceed to remove the front headlights; drain the coolant, remove the intercooler radiator and the hoses connecting it to the intake system. Position the new intercooler radiator in the grille, temporarily securing it with cable ties, and mark with a marker the part of the metal that needs to be removed to allow the new hoses to pass through. Cut the marked portion of metal and apply a gasket to the edge. Remove the inner cover of the bumper and position it near the radiator to identify any interfering parts to eliminate: again, apply a gasket to the edge of the cut. Create brackets for securing the new radiator and proceed with the installation of the connecting pipes from the radiator to the intake, shaping and connecting them appropriately. Finally, reassemble the bumper, headlights, and grille. by ScegliAuto More videos
|
|
For advertising on this site Write to info@scegliauto.com
ScegliAuto is not responsible for any inaccuracy of the data in the lists. To report any inaccuracy or your business (if you own the business in question), please write to info@scegliauto.com
Number of seconds to generate the page: 0.059
(c) ScegliAuto 2026 - info@scegliauto.com - Privacy policy VAT number: IT01247470535 |