
|
Do it yourself
| |||
| ||||


Mini - Video tutorial
Model: Mini Mini
Countryman2, F60
- Years 2017-2023 In this tutorial, we can see how to install a display in the Mini Cooper, which will completely replace the large central instrument panel. Let's start by removing the bottom of both cup holders, then unscrew the two screws that have just been released with a Torx T20 key. We continue by removing the screw located just behind the gear lever, separate the entire block of the central tunnel, and unscrew the additional indicated screw. At this point, we can remove the frame of the instrument panel by levering along the joint, remove the upper ventilation grille, and disassemble the panel itself. To install the replacement and reassemble everything, just follow the reverse procedure.
Posted on 12 November 2023 by ScegliAuto
Other guides that may interest you
|
Frequently Asked QuestionsHow to reset the tire pressure warning light on Dacia Sandero?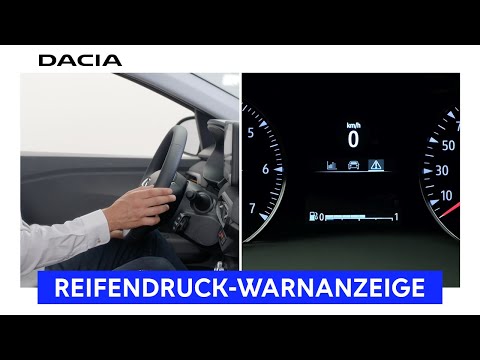
Let's see below how it is possible to reset the low tire pressure signal on the car: first of all it is necessary to check the correct tire pressure by comparing it with the pressures reported in the use and maintenance manual. After that, turn on the ignition and locate the command on the right side of the steering wheel at the top that allows you to access the on-board computer menu, then select the car symbol, after which select the "up arrow" command up to that the indication "tire pressure" appears on the display. At that point, press the "Ok" control on the steering wheel and keep it pressed to reset the signal. by ScegliAuto More videos
|
|
For advertising on this site Write to info@scegliauto.com
ScegliAuto is not responsible for any inaccuracy of the data in the lists. To report any inaccuracy or your business (if you own the business in question), please write to info@scegliauto.com
Number of seconds to generate the page: 0.058
(c) ScegliAuto 2024 - info@scegliauto.com - Privacy Policy VAT number: IT01247470535 |