
|
Do it yourself
| |||
| ||||


How to Replace the Oil Filter on Mitsubishi L200
Model: Mitsubishi L 200
MK 2
- Years 2005-2015
How to replace the oil filter on a Mitsubishi L200? Follow this guide to proceed with the replacement: open the car door and pull up the engine bay release lever located at the bottom left of the dashboard and lift the front bonnet, securing it with the provided prop. Remove the engine soundproofing panel, then, using a socket or screwdriver, remove the tightening bolts of the metal clamp on the ventilation pipe. Remove the tightening bolt of the container that holds the oil filter (if the filter is located underneath, use a jack). Extract the worn filter and insert a new one. Finally, refit the filter and continue with the maintenance of the other parts.
Updated on 5 March 2026 by ScegliAuto
Video tutorial
Related tutorials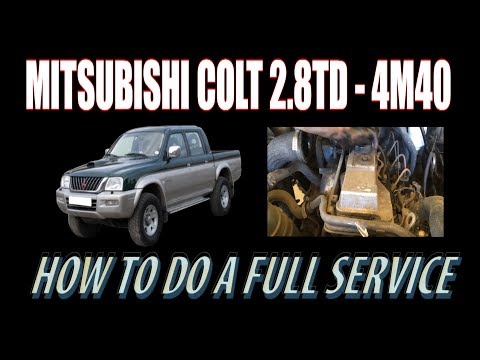
Mitsubishi L 200
(1996-2005 /
MK 1)
Today, you will learn how to perform a complete service (replacement of the air filter, oil filter, engine oil, and fuel filter) on a Mitsubishi L200…

Mitsubishi L 200
(2005-2015 /
MK 2)
In this video tutorial, you will learn how to remove and replace the engine oil and oil filter of a Mitsubishi L200. First, lift the vehicle and remo…
Mitsubishi L 200
(2015-2024 /
MK 3)
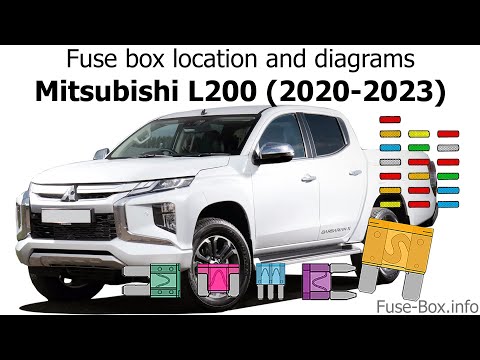
In this new mini guide dedicated to your Mitsubishi L200 Mk3 (2020-2023), we will discover where the fuse box is located and how to access the fuses …
Other guides you may be interested in
|
How to Reset the Tyre Pressure Light on the Opel Grandland X
While driving, if you notice the tyre pressure warning light coming on, first check the actual inflation pressure of the tyres and, if necessary, restore the pressures recommended by the manufacturer. After restoring the correct pressures, you need to reset the warning light that has illuminated on the instrument cluster. To do this, locate the reset button on the lower central console. Press this button and hold it down for at least 3 seconds, after which the low pressure indication will turn off. by ScegliAuto More videos
|
For advertising on this site Write to info@scegliauto.com
ScegliAuto is not responsible for any inaccuracy of the data in the lists. To report any inaccuracy or your business (if you own the business in question), please write to info@scegliauto.com
Number of seconds to generate the page: 0.072
(c) ScegliAuto 2026 - info@scegliauto.com - Privacy policy VAT number: IT01247470535 |
