
|
Do it yourself
| |||
| ||||


Replacing the Steering Rack Tie Rod End
Model: Mitsubishi Outlander
MK 2
- Years:
2007, 2008, 2009, 2010, 2011, 2012
Video tutorial
It can happen, especially in larger vehicles such as SUVs, that the ball joints at the ends of the steering rack tie rods may fail, becoming loose and noisy. To perform the replacement, lift the vehicle on a ramp and remove the front wheel; then unscrew the nut securing the tie rod end to the hub support, and before using the fork puller to extract it, loosen the lock nut on the tie rod; then extract the tie rod end and unscrew it, counting the number of turns; screw in the new tie rod end the same number of turns, insert it into its seat, tighten the lock nut and the securing nut; it is advisable to have the alignment checked afterwards.
Updated on 21 February 2026 by ScegliAuto
Related tutorials
Mitsubishi Outlander
(2007-2012 /
MK 2)
Removing the alternator on a Mitsubishi Outlander? Let’s see how to do it from inside the vehicle. Lift the car with a jack. To remove the alternator…

Mitsubishi Outlander
(2013-2021 /
MK 3)
Today, learn how to reset the tyre pressure warning light on the Mitsubishi Outlander by working exclusively on the TPMS sensors. Before resetting, e…
Mitsubishi Outlander
(2013-2021 /
MK 3)
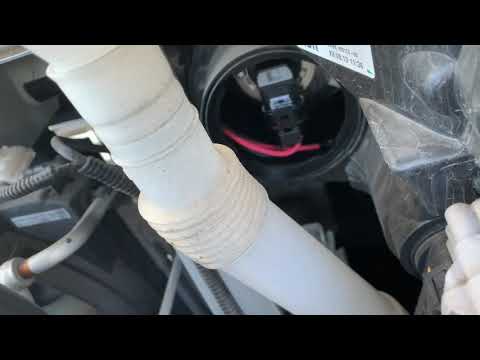
Replacing the right front headlight bulb on a Mitsubishi Outlander follows short and simple steps that you can carry out independently, thanks to our…
Other guides you may be interested in
|
How to Remove the Rear Seat of a Hyundai Tucson?
To remove the rear seat of a Hyundai Tucson, follow these steps. Start by moving the front seats to their most forward position to gain space. Next, locate the release lever on the underside of the rear seat, near the floor. Press this lever down while pulling the seat upwards to unlock it from the anchor pins. Once unlocked, tilt the seat upwards and forwards to remove it from its position. Repeat this process for both sides of the rear seat. Be careful of any electrical cables or components that may be connected to the seat during removal. Once the rear seat is removed, the disassembly is complete. by ScegliAuto More videos
|
|
For advertising on this site Write to info@scegliauto.com
ScegliAuto is not responsible for any inaccuracy of the data in the lists. To report any inaccuracy or your business (if you own the business in question), please write to info@scegliauto.com
Number of seconds to generate the page: 0.846
(c) ScegliAuto 2026 - info@scegliauto.com - Privacy policy VAT number: IT01247470535 |
