
|
Do it yourself
| |||
| ||||


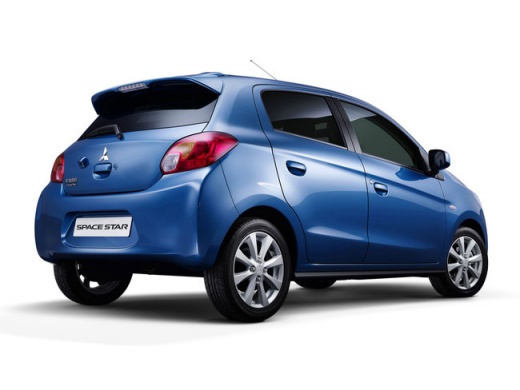
Location of the EOBD Port on the Mitsubishi Space Star MK 2
Model: Mitsubishi Space Star
MK 2
- Years:
2012, 2013, 2014, 2015, 2016, 2017, 2018, 2019, 2020, 2021, 2022, 2023
Video tutorial
This video shows where the EOBD (European On Board Diagnostic) port is located on the Mitsubishi Space Star MK2: as DIY enthusiasts know, the EOBD port is how your vehicle communicates with you to indicate any faults that may have occurred in the ECU. If there are minor errors that can be resolved by the user, you can save a considerable amount of money by reading them with a simple OBD11 diagnostic tool and decoding them with any of the many applications available on your smartphone. The port in your Space Star is located in the centre console, under the glove compartment/cup holder: just lift it up and you will find the port in a horizontal position.
Updated on 1 October 2026 by ScegliAuto
Related tutorials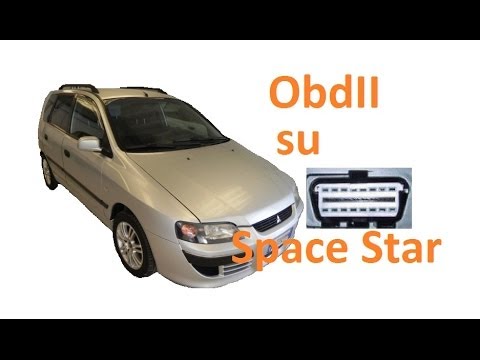
Mitsubishi Space Star
(1998-2005 /
MK 1)
If you want to check the error codes of your Mitsubishi Space Star's ECU and have purchased an OBD II reader, you are now looking for the EOBD connec…

Mitsubishi Space Star
(1998-2005 /
MK 1)
In this video we can see where to find the EOBD (European On Board Diagnostic) port of the Mitsubishi Space Star in its MK1 version: through this por…
Mitsubishi Space Star
(1998-2005 /
MK 1)
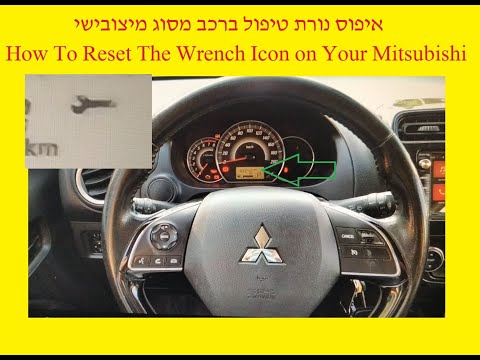
In this tutorial, see how to reset the service in the Mitsubishi Space Star, a very simple and quick operation, to be done only after completing all …
Other guides you may be interested in
|
How to Remove the Rear Seat of a Hyundai Tucson?
To remove the rear seat of a Hyundai Tucson, follow these steps. Start by moving the front seats to their most forward position to gain space. Next, locate the release lever on the underside of the rear seat, near the floor. Press this lever down while pulling the seat upwards to unlock it from the anchor pins. Once unlocked, tilt the seat upwards and forwards to remove it from its position. Repeat this process for both sides of the rear seat. Be careful of any electrical cables or components that may be connected to the seat during removal. Once the rear seat is removed, the disassembly is complete. by ScegliAuto More videos
|
|
For advertising on this site Write to info@scegliauto.com
ScegliAuto is not responsible for any inaccuracy of the data in the lists. To report any inaccuracy or your business (if you own the business in question), please write to info@scegliauto.com
Number of seconds to generate the page: 0.010
(c) ScegliAuto 2026 - info@scegliauto.com - Privacy policy VAT number: IT01247470535 |
