
|
Do it yourself
| |||
| ||||


How to Make DIY Side Skirts for a Nissan Micra K11
Model: Nissan Micra
K11
- Years:
1992, 1993, 1994, 1995, 1996, 1997, 1998, 1999, 2000, 2001, 2002
Video tutorial
Here’s an incredibly creative and low-cost idea to transform drainage channels into side skirts for a Nissan Micra K11: measure the required length under the doors; it is 1.69 m, cut the drainage channel in half along its length to obtain two identical pieces, which will become the side skirts. Decide how to mount them: under the sill for a more integrated look, or under the body; simpler but protruding. For an integrated fit with the wheel arches, measure and cut the ends of the channel to fit the curvature of the front and rear wheel arches. To create end caps, make a template from paper, transfer the shape onto the remaining drainage channel, and cut out the caps. Smooth the surfaces and glue them securely to the top of the side skirts. Once the glue is dry, use sandpaper to make it perfectly smooth, especially where the caps are attached. Smooth the entire surface to ensure better paint adhesion. Apply plastic primer; once dry, apply several light coats of matte black spray paint until achieving an even coverage. For mounting, hold the side skirt in position, drill pilot holes, and secure it firmly to the car's body using screws.
Posted on 5 May 2026 by ScegliAuto
Related tutorials
Nissan Micra
(1992-2002 /
K11)
In this video tutorial, you will learn how to remove and replace the bulbs in the instrument cluster of a Nissan Micra K11. First, get inside the veh…

Nissan Micra
(1992-2002 /
K11)
In today's tutorial, you will learn how to remove and replace the fuel filter on a first series Nissan Micra K11 in simple and quick steps. First, op…
Nissan Micra
(1992-2002 /
K11)
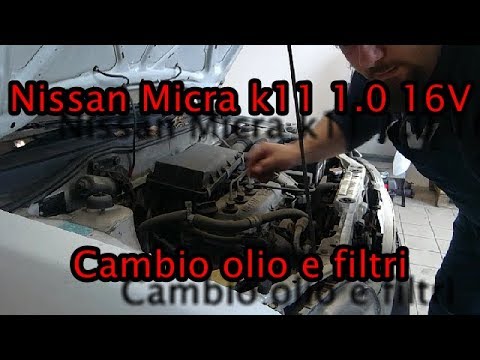
Follow the instructions from the YouTuber to perform a DIY service on your Nissan Micra K11. Start by draining the old oil from the system. Position …
Other guides you may be interested in
|
How to Remove the Rear Seat of a Hyundai Tucson?
To remove the rear seat of a Hyundai Tucson, follow these steps. Start by moving the front seats to their most forward position to gain space. Next, locate the release lever on the underside of the rear seat, near the floor. Press this lever down while pulling the seat upwards to unlock it from the anchor pins. Once unlocked, tilt the seat upwards and forwards to remove it from its position. Repeat this process for both sides of the rear seat. Be careful of any electrical cables or components that may be connected to the seat during removal. Once the rear seat is removed, the disassembly is complete. by ScegliAuto More videos
|
|
For advertising on this site Write to info@scegliauto.com
ScegliAuto is not responsible for any inaccuracy of the data in the lists. To report any inaccuracy or your business (if you own the business in question), please write to info@scegliauto.com
Number of seconds to generate the page: 0.043
(c) ScegliAuto 2026 - info@scegliauto.com - Privacy policy VAT number: IT01247470535 |
