
|
Do it yourself
| |||
| ||||


How to Replace the Cabin Air Filter
Model: Nissan Pathfinder
MK 3, R51
- Years 2005-2012
Open the glove compartment, flex the left side wall as shown in the video, then pull from the right to completely disengage the door and allow full opening.
At the back, remove the safety hook. Now you will have access to the air filter compartment; open the cover after unscrewing the screws that hold it in place with a 10mm spanner. Now extract the main filter and then the secondary filter located on the right, insert the new secondary filter respecting its orientation and the primary filter, carefully close the compartment and screw the screws back in. Refit the safety hook and close the glove compartment. The video applies to Nissan Pathfinder vehicles from 2005 to 2010 but also to other models such as the Frontier and Xterra.
Updated on 2 February 2026 by ScegliAuto
Video tutorial
Related tutorials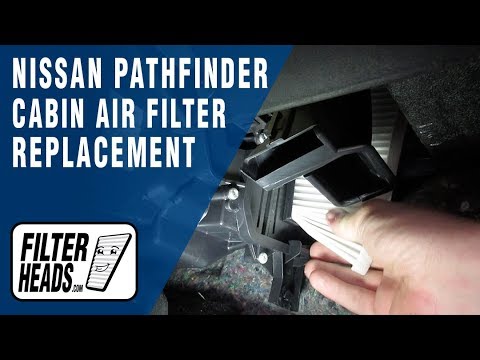
Nissan Pathfinder
(2012-2020 /
MK 4, R52)
Are you planning to replace the cabin air filter on this car model? From the description below, we have gathered all the information and steps necess…

Nissan Pathfinder
(2021-2026 /
R53)
Thanks to the following guide, you will be able to replace the cabin air filter of your latest model Nissan Pathfinder completely independently. Firs…
Nissan Pathfinder
(2005-2012 /
MK 3, R51)
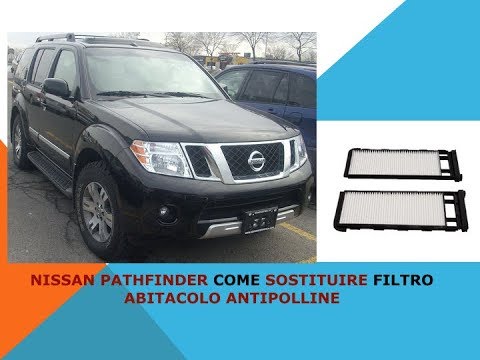
In this video tutorial, see how to replace the cabin filter on a Nissan Pathfinder by following a few simple steps: first, purchase a new pollen filt…
Other guides you may be interested in
|
How to replace the horn on a Renault Duster - Dacia Duster
Today's main instructions will show you the procedure for removing and replacing the horn or sound signal on the Renault Duster, as well as the Dacia Duster. First, open the bonnet of the vehicle and start removing the front bumper by unscrewing all the fixing screws; you will find the horn right in front of the radiator, as shown in the video. At this point, disconnect the electrical connector and unscrew the bracket screw to remove and replace the horn with the new one; finally, reassemble the front bumper! by ScegliAuto More videos
|
|
For advertising on this site Write to info@scegliauto.com
ScegliAuto is not responsible for any inaccuracy of the data in the lists. To report any inaccuracy or your business (if you own the business in question), please write to info@scegliauto.com
Number of seconds to generate the page: 0.432
(c) ScegliAuto 2026 - info@scegliauto.com - Privacy policy VAT number: IT01247470535 |
