
|
Do it yourself
| |||
| ||||


Radiator Replacement on Opel Meriva
Model: Vauxhall Meriva
Meriva A, MK 1
- Years 2003-2010
How to remove the radiator from the Opel Meriva? Lift the front bonnet and start removing the protection plastics (bumper). Remove the bumper plastics along with the front headlights after unscrewing the securing screws. Unscrew the screws of the plates that secure the radiator at the top, then lift the car on a column lift and loosen the clamp of the water hose. Disconnect the various hoses of the cooling system. Unscrew the screws at the bottom of the front. Once free from screws and hoses, you can extract the fan assembly and then the radiator from the engine bay. Fix the new radiator with all the attached pieces.
Updated on 17 April 2026 by ScegliAuto
This video is currently unavailable
Related tutorials
Vauxhall Meriva
(2003-2010 /
Meriva A, MK 1)
If you own a first edition Opel Meriva (year 2008) and want to easily locate the OBD port, all you have to do is follow the steps described below. Fi…

Vauxhall Meriva
(2003-2010 /
Meriva A, MK 1)
Knowing the location where the OBD2 port of your Opel Meriva A is installed is very important as it allows you to connect any compatible diagnostic t…
Vauxhall Meriva
(2010-2017 /
MK 2, Meriva B)
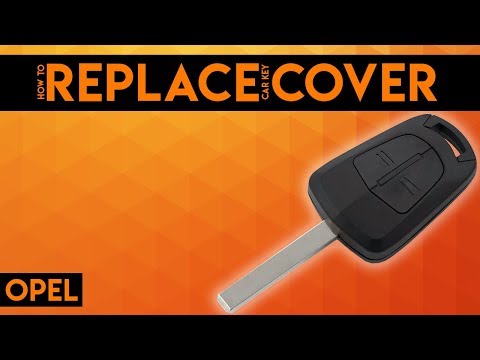
The video thoroughly demonstrates how to change the cover of an Opel Meriva key, including how to replace the battery. It’s quite simple: you will ne…
Other guides you may be interested in
|
How to Bleed the Clutch on a Renault Clio?
To bleed the clutch on a Renault Clio, open the bonnet to access the components located in the engine bay: here, you will need to undo the screws that secure the battery in its housing, the intake manifold, and the coolant reservoir. This will allow you to locate the pipe through which the brake fluid flows: by inserting the other end of the pipe into a container, you can press the clutch pedal to expel all the fluid until it fills the container. by ScegliAuto More videos
|
|
For advertising on this site Write to info@scegliauto.com
ScegliAuto is not responsible for any inaccuracy of the data in the lists. To report any inaccuracy or your business (if you own the business in question), please write to info@scegliauto.com
Number of seconds to generate the page: 0.715
(c) ScegliAuto 2026 - info@scegliauto.com - Privacy policy VAT number: IT01247470535 |
