
|
Do it yourself
| |||
| ||||


Throttle Body Cleaning Instructions
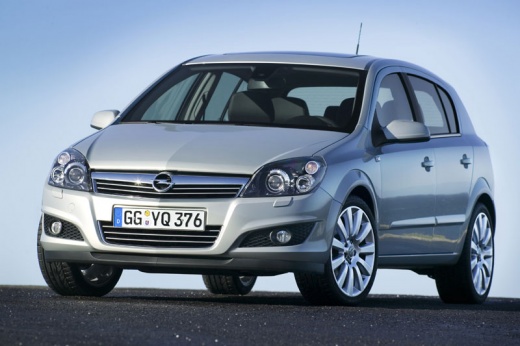
Model: Vauxhall Astra
Astra H
- Years 2004-2010
To carry out a thorough cleaning of the throttle body, you need to remove it: it is located at the front right of the engine (when viewed from the front), just behind the oil filler cap. Disconnect the hoses, the elbow connector, and the securing pins. Once the throttle body is removed, use the appropriate cleaning spray to remove any deposits and dirt present in the body; also clean the intake manifold, ensuring that no debris falls into the duct itself. This is why it is advised against performing such treatments with spray cans without disassembling anything: any detached deposits could enter the intake and damage the engine.
Updated on 12 February 2026 by ScegliAuto
Video tutorial
Related tutorials
Vauxhall Astra
(2004-2010 /
Astra H)
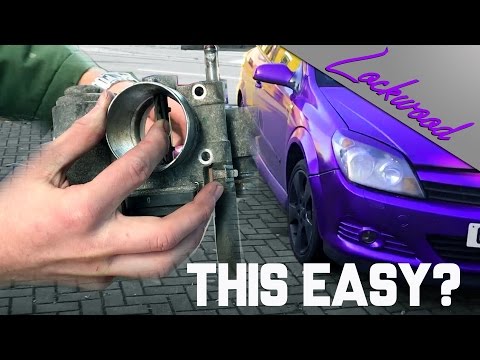
The following steps will guide you on how to remove and replace the throttle body on an Opel Astra, following the instructions below. First, open the…
Vauxhall Astra
(2004-2010 /
Astra H)
This guide shows you how to remove the throttle body for cleaning or replacement on the Opel Astra, following these simple steps. First, open the bon…

Vauxhall Astra
(2009-2016 /
Astra J)
Let's see how to clean the throttle body of an Opel Astra (specifically with LPG system) using a specific cleaning spray, such as Ambro-sol A469, whi…
Other guides you may be interested in
|
How to Replace the Remote Battery for the Volvo XC40?
In this tutorial, you will see how to replace the battery in the remote for the Volvo XC40, a very simple and quick operation. For this, you will need a replacement battery of type CR2032 and possibly a small flathead screwdriver. First, remove the front cover by pressing the button on the metal ring, then locate the second button, press it as well, and remove the opposite cover. Next, open the circular cap, take out the old battery, and insert the new one in the opposite direction. Finally, reassemble everything. by ScegliAuto More videos
|
|
For advertising on this site Write to info@scegliauto.com
ScegliAuto is not responsible for any inaccuracy of the data in the lists. To report any inaccuracy or your business (if you own the business in question), please write to info@scegliauto.com
Number of seconds to generate the page: 0.638
(c) ScegliAuto 2026 - info@scegliauto.com - Privacy policy VAT number: IT01247470535 |
