
|
Do it yourself
| |||
| ||||


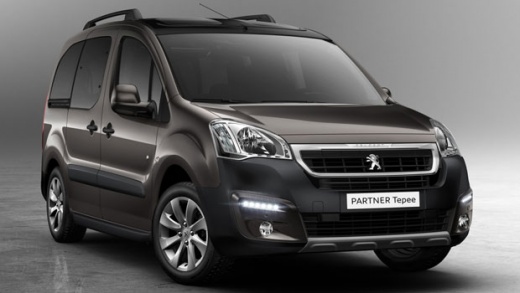
How to Change the Front Indicator Bulb on a Peugeot Partner
Model: Peugeot Partner Tepee
B9
- Years:
2008, 2009, 2010, 2011, 2012, 2013, 2014, 2015, 2016, 2017, 2018
Video tutorial
Replacing the front indicator bulb on a Peugeot Partner is straightforward. Open the bonnet and locate the front light unit. At the back of the headlamp, you will find the indicator bulb holder. Rotate it counterclockwise to remove it. Pull out the old bulb and insert the new one (usually type PY21W or similar, depending on the model). Be careful not to touch the glass with your fingers. Reinsert the bulb holder and rotate it clockwise to secure it. Check the operation by turning on the indicators. If the bulb blows quickly, check the connector or the wiring. The procedure takes just a few minutes.
Posted on 23 August 2026 by ScegliAuto
Related tutorials
Peugeot Partner Tepee
(2018-2026 /
MK 3)
If one of the bulbs in the front light of your Peugeot Partner Mk3 has suddenly stopped working and you want to know how to replace it correctly, fol…

Peugeot Partner Tepee
(2008-2018 /
B9)
Today we will explain how to replace the headlight bulb of the Peugeot Partner. To carry out the replacement, it is necessary to remove the water pum…

Peugeot Partner Tepee
(2008-2018 /
B9)
This brief guide will show us the information that will allow us to disassemble and replace the headlight bulb of the Peugeot Partner Tepee. First, w…
Other guides you may be interested in
|
Where to Find and How to Remove the Spare Wheel of a Peugeot 5008?
The spare wheel of a Peugeot 5008 is located under the rear of the vehicle. To remove it, you need to lift the third row of seats to access the fixing bolt that holds the spare wheel in position. Using the correct spanner, proceed to unscrew the fixing bolt until the wheel is no longer secured. At this point, you can extract the spare wheel from underneath the vehicle. Once you have completed this step, you are free to fit the spare wheel. Ensure you correctly remount the spare wheel and securely tighten the fixing bolt when you are finished. by ScegliAuto More videos
|
|
For advertising on this site Write to info@scegliauto.com
ScegliAuto is not responsible for any inaccuracy of the data in the lists. To report any inaccuracy or your business (if you own the business in question), please write to info@scegliauto.com
Number of seconds to generate the page: 0.082
(c) ScegliAuto 2026 - info@scegliauto.com - Privacy policy VAT number: IT01247470535 |
