
|
Do it yourself
| |||
| ||||


How to Refit the Rear Bumper on a Peugeot 308
Model: Peugeot 308
T9, MK 2
- Years 2013-2021
In this video, you will see how to refit (not replace, but just realign) the rear bumper on a Peugeot 308, a job for which the dealership charged 100 euros, and which our YouTuber did himself. Now he teaches us how to do it ourselves. Lift the front of the car and remove the wheel, then take off the inner wing liner under the bumper by removing the various plastic clips shown in the video. In this case, it was just a metal clip that had come out of its housing. It was enough to push it back in gently, and the problem was solved. Now, refit the inner wing liner, the wheel, and lower the car. It took just 30 minutes at no cost.
Updated on 31 July 2026 by ScegliAuto
Video tutorial
Related tutorials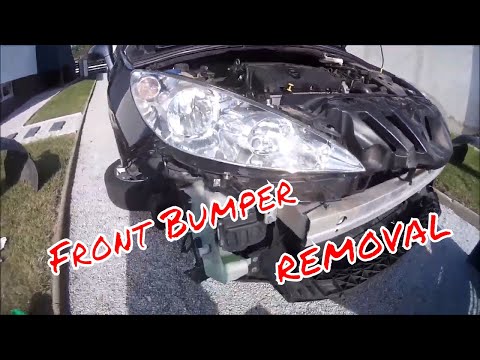
Peugeot 308
(2007-2014 /
T7, MK 1)
Removing the bumper on a Peugeot 308. Removing the damaged bumper? Here’s how. Lift the car on a jack, unscrew the fastening screws located in the pl…

Peugeot 308
(2013-2021 /
T9, MK 2)
The removal of the rear bumper on Peugeot 308 vehicles may seem like a difficult task to do independently, but on T 9 models it is easier than you mi…

Peugeot 308
(2007-2014 /
T7, MK 1)
To remove the rear bumper from a Peugeot 308, start with the rear wheel arches: push the trim inward and unscrew the Torx screws present on both side…
Other guides you may be interested in
|
Frequently Asked QuestionsHow to Remove the Front Bumper of the Citroën C4 Picasso?
To remove the front bumper of the Citroën C4 Picasso, you need to take out all the rivets and screws that secure the piece to its housing: these screws are located inside the wheel arches of the front wheels and at the central upper part of the bumper itself. Once all these fastening elements have been removed, you can detach the bumper from its seat by disconnecting the connectors inside and then insert the new replacement part. The new part can then be secured and connected properly, ensuring it is correctly fixed in place. by ScegliAuto More videos
|

|
For advertising on this site Write to info@scegliauto.com
ScegliAuto is not responsible for any inaccuracy of the data in the lists. To report any inaccuracy or your business (if you own the business in question), please write to info@scegliauto.com
Number of seconds to generate the page: 0.245
(c) ScegliAuto 2026 - info@scegliauto.com - Privacy policy VAT number: IT01247470535 |
