
|
Do it yourself
| |||
| ||||


How to replace the headlight bulb of the Dodge RAM 3500.
Model: RAM 3500
DS, DJ, MK 4
- Years 2009-2019
Today we will see the instructions that will allow us to disassemble and replace the headlight bulb of the Dodge RAM 3500. First, let's open the vehicle's hood and start removing the front grille of the front bumper by unscrewing all the fastening screws. After that, we will unscrew the screws of the headlight assembly in order to remove it, as shown in the video. At this point, let's disconnect the electrical connector of the low beam bulb, remove it, and replace it with the new original one. We will reassemble the light and the headlight assembly, checking its functionality, and finally reattach the grille.
Posted on 11 December 2025 by ScegliAuto
Video tutorial
Related tutorials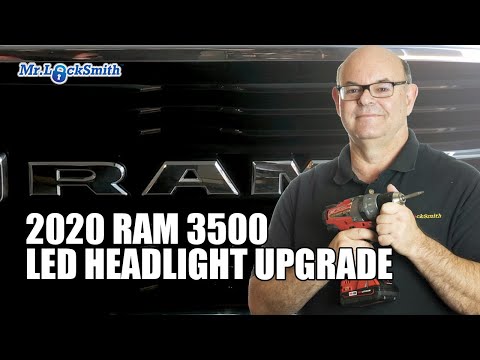
RAM 3500
(2019-2026 /
MK 5, DT)
To replace the headlight bulb on a Dodge Ram 3500, loosen the rivets located in the wheel well corresponding to the bulb that needs replacement. By r…
RAM 3500
(2019-2026 /
MK 5, DT)
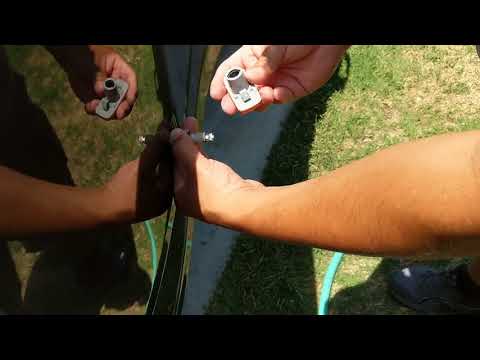
To replace the side marker bulb on a Dodge RAM 3500, detach the lens assembly containing the bulb using a lever tool, such as a screwdriver. Once the…
RAM 3500
(2009-2019 /
DS, DJ, MK 4)
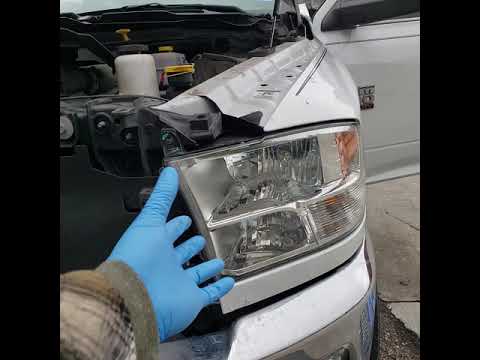
In this video tutorial, you will learn how to remove and replace the headlight bulb on the 2018 RAM 3500, fourth generation. First, open the hood and…
Other guides you may be interested in
|
How to reset the tyre pressure warning light on the Suzuki Jimny?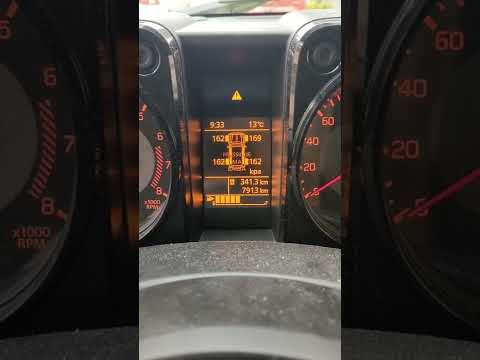
To reset the tyre pressure warning light on the Suzuki Jimny, first inflate the tyres to the pressure value indicated on the corresponding sticker: this is located at the bottom of the driver's door pillar. Once the tyres are inflated, insert the ignition key and turn on the instrument panel: select the screen that indicates the tyre pressures, checking that the values change. After a few seconds, the tyre pressure warning light will automatically turn off. by ScegliAuto More videos
|
|
For advertising on this site Write to info@scegliauto.com
ScegliAuto is not responsible for any inaccuracy of the data in the lists. To report any inaccuracy or your business (if you own the business in question), please write to info@scegliauto.com
Number of seconds to generate the page: 0.471
(c) ScegliAuto 2026 - info@scegliauto.com - Privacy policy VAT number: IT01247470535 |
