
|
Do it yourself
| |||
| ||||



Video tutorial
The following video diagnoses a problem with a sticking valve and low compression in the engine. To begin, disconnect the battery. Remove the throttle assembly, intake hose, and exhaust gas recirculation hose. From the images, note that the left valve cover has already been removed. Disconnect the injector connectors by first lowering the red tab and then pressing the black tab. Using a special pliers, disconnect the fuel line. Remove the intake manifold by disconnecting the injector connectors on the other side as well. Now remove the alternator and the air conditioning compressor to gain more access to the engine. Proceed by removing the front wheel well on the passenger side. After removing the wheel, start disassembling the exhaust manifold. Remove the pushrods and rocker arms, placing them in order exactly as you removed them from the engine. Now loosen the cylinder head bolts and carefully extract the head, possibly with the help of another person. Car model: Dodge RAM 5.7 V8 Year: 2006
Updated on 12 February 2026 by ScegliAuto
Related tutorials
RAM 2500
(2002-2009 /
D1, MK 3, DR, DH, DC, DM)
This guide shows how to replace the cigarette lighter in the Dodge RAM 2500 Mk3. The replacement procedure is very simple and can be easily performed…

RAM 2500
(2019-2026 /
DT, MK 5)
In today's video, you will see the main instructions for removing the original front bumper of the 2020 Ram 2500 by following these simple steps. Fir…
RAM 2500
(2002-2009 /
D1, MK 3, DR, DH, DC, DM)
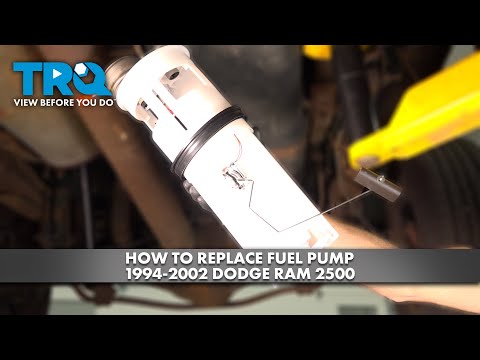
Today's procedure will show you how to remove and replace the fuel pump on the Dodge RAM 2500, following the instructions below. First, lift the vehi…
Other guides you may be interested in
|
How to Set the Time in an Audi A4?
In this tutorial, you will see how to set the time in an Audi A4, a very simple and quick operation to perform after replacing the battery or when the time changes. First, insert the key and turn on the instrument cluster. Then, press the "SETUP" button located on the center console. Next, press the upper left arrow button, navigate to the "Time" option, and use the central knob to adjust the clock. Finally, set any necessary formats and save by returning to the main screen. by ScegliAuto More videos
|
|
For advertising on this site Write to info@scegliauto.com
ScegliAuto is not responsible for any inaccuracy of the data in the lists. To report any inaccuracy or your business (if you own the business in question), please write to info@scegliauto.com
Number of seconds to generate the page: 0.132
(c) ScegliAuto 2026 - info@scegliauto.com - Privacy policy VAT number: IT01247470535 |
