
|
Do it yourself
| |||
| ||||


How to remove and clean the MAP sensor of a Renault Megane 3
Model: Renault Megane
Megane III, Megane 3
- Years 2008-2015
Let's see how to remove and clean the MAP sensor of a Renault Megane 3. First, we identify the sensor, which is located under the hood, on the top of the intake manifold, near the throttle body. It is a small black plastic cylinder with a 3-PIN electrical connector; we disconnect it and then remove the sensor, which has no screws but is pressed into a rubber housing. To clean it, we spray a cleaning product into the sensor's entry door and on the internal electrodes: we let it drip and air dry, without ever touching the internal components. To reassemble, we insert the sensor by pressing it into its seat until we hear a "click," and then we reconnect the electrical connector.
Posted on 21 January 2026 by ScegliAuto
Video tutorial
Related tutorials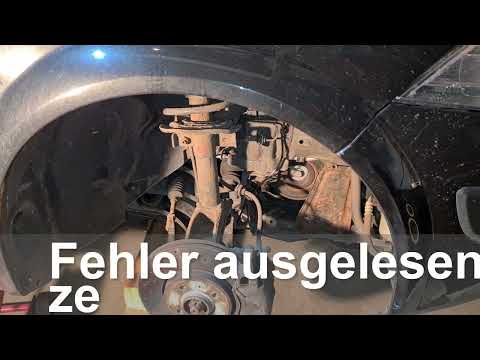
Renault Megane
(2002-2010 /
Megane 2)
This guide shows you how to remove and replace the ABS (Anti-lock Braking System) sensor on the Renault Megane, following the instructions below. Fir…
Renault Megane
(2008-2015 /
Megane III, Megane 3)
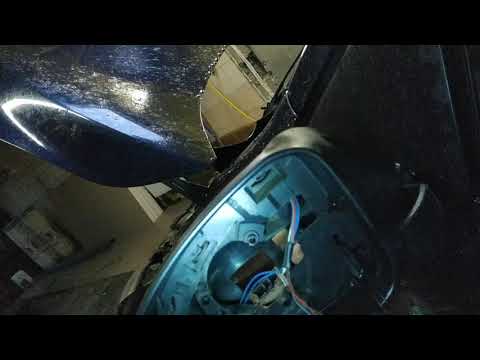
Here are the brief instructions that will allow you to remove and replace the external temperature sensor on the Renault Megane. First, locate the ex…
Renault Megane
(2002-2010 /
Megane 2)
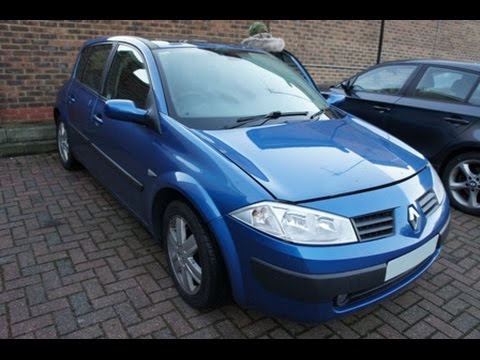
How to remove the crankshaft position sensor on a Renault Megane? Let’s look at the replacement. Lift the front bonnet and secure it with the prop ro…
Other guides you may be interested in
|
Frequently Asked QuestionsHow to Bleed the Clutch on a Renault Clio?
To bleed the clutch on a Renault Clio, open the bonnet to access the components located in the engine bay: here, you will need to undo the screws that secure the battery in its housing, the intake manifold, and the coolant reservoir. This will allow you to locate the pipe through which the brake fluid flows: by inserting the other end of the pipe into a container, you can press the clutch pedal to expel all the fluid until it fills the container. by ScegliAuto More videos
|
|
For advertising on this site Write to info@scegliauto.com
ScegliAuto is not responsible for any inaccuracy of the data in the lists. To report any inaccuracy or your business (if you own the business in question), please write to info@scegliauto.com
Number of seconds to generate the page: 0.087
(c) ScegliAuto 2026 - info@scegliauto.com - Privacy policy VAT number: IT01247470535 |
