
|
Do it yourself
| |||
| ||||


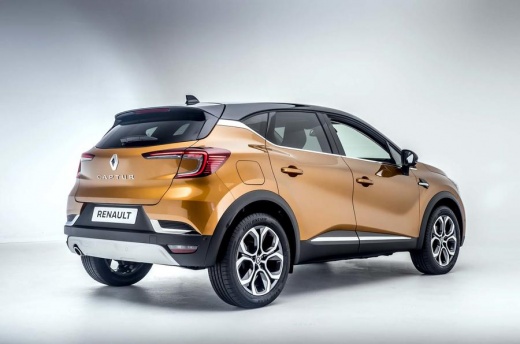
How to Adjust the Headlight Position on a Renault Captur
Model: Renault Captur
MK 2
- Years 2019-2026
To adjust the height of the headlights on the Renault Captur II, start the engine and activate the dipped beams. Locate control A on the dashboard, to the left of the steering wheel. Press or lift the control several times to select the desired position: the set level is displayed on the instrument cluster. Use position 0 when travelling alone or with a front passenger. If all seats are occupied, select position 1. With passengers and luggage, progressively increase the level based on the load, up to the positions specified by the vehicle. A higher position lowers the beam, preventing glare for other drivers. After adjusting the headlights, check that the road is properly illuminated.
Posted on 25 September 2026 by ScegliAuto
Video tutorial
Related tutorials
Renault Captur
(2019-2026 /
MK 2)
You can adjust the front headlights of the Renault Captur by inserting the ignition key into the slot and turning it to activate the instrument panel…

Renault Captur
(2013-2019 /
MK 1)
In this tutorial, see how to activate the fog lights on a Renault Captur, a very simple and quick operation. First, go inside the cabin, then turn on…

Renault Captur
(2013-2019 /
MK 1)
Here’s how to turn on the front fog lights on the 2016 Renault Captur. The knob for the dipped beam and fog lights is located on the dashboard, to th…
Other guides you may be interested in
|
Frequently Asked QuestionsHow to Connect the Cables to the Battery of the Citroen Xsara Picasso?
In this tutorial, you will see how to connect the cables to the battery of the Citroen Xsara Picasso, useful if you need to recharge it or perform an emergency start. First, ensure the key is not inserted, then open the bonnet and move to the front of the left headlamp. Next, locate the bolt just behind the filter box and connect the positive terminal clamp to it. Now you can connect the negative terminal to any point on the chassis, such as the indicated point. Once the operation is complete, ensure you disconnect the negative first and then the positive. by ScegliAuto More videos
|
|
For advertising on this site Write to info@scegliauto.com
ScegliAuto is not responsible for any inaccuracy of the data in the lists. To report any inaccuracy or your business (if you own the business in question), please write to info@scegliauto.com
Number of seconds to generate the page: 0.119
(c) ScegliAuto 2026 - info@scegliauto.com - Privacy policy VAT number: IT01247470535 |
