
|
Do it yourself
| |||
| ||||


How to Replace the Front Brake Discs on a Renault Twingo MK1
Model: Renault Twingo
- Years 1993-2007
To replace the front brake discs on a Renault Twingo MK1, you will need: a wire brush, WD-40, brake cleaner, copper grease, a Torx T30 bit, a 17 mm socket for the wheel bolts, a brake piston tool, a torque wrench, needle-nose pliers, a impact screwdriver, a crowbar, and wheel chocks. Open the bonnet and unscrew the cap of the brake fluid reservoir. Block the rear wheels with chocks. Loosen the wheel bolts (17 mm socket), lift the car, and place it on axle stands. Remove the wheel. Separate the brake pads with a crowbar. Remove the retaining pin and the pad clip, then take them out. Clean the seats with a wire brush and WD-40. Unscrew the disc retaining screw (Torx T30 with an impact screwdriver) and remove the disc. Clean the caliper bracket and piston with brake cleaner. Push back the piston with the brake piston tool. Clean the hub with a wire brush and treat the contact surface with copper grease. Install the new disc. Tighten the retaining screw to 15 Nm. Install new pads, clip, and pin. Treat the contact surface between the disc and wheel rim with copper grease. Clean the surface of the disc with brake cleaner. Refit the wheel, tightening the bolts to 120 Nm in a criss-cross pattern. Recheck the brake fluid level. Without starting the engine, press the brake pedal several times until you feel resistance.
Posted on 4 October 2026 by ScegliAuto
Video tutorial
Related tutorials
…
Renault Twingo
(2014-2024 /
Twingo 3, Twingo III)
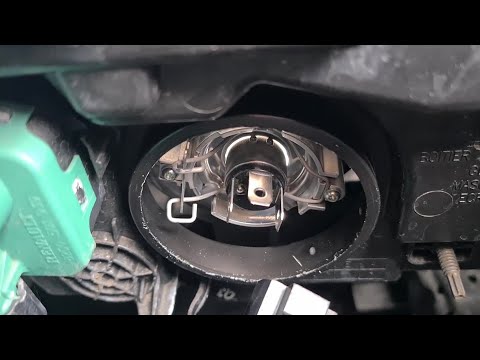
In this tutorial, you will see how to replace the front headlight bulbs in a Renault Twingo, a very simple and quick operation. First, ensure that th…

Renault Twingo
(2014-2024 /
Twingo 3, Twingo III)
In this tutorial we can see how to replace the front headlight bulbs in the Renault Twingo, an extremely simple and quick operation. First of all, ma…
Other guides you may be interested in
|
Resetting the Tyre Pressure Warning Light on the Hyundai I20
The following instructions will show you how to reset the tyre pressure warning light on the Hyundai I20; before performing the reset, ensure that all four tyres are at the correct operating pressure. Then, get in the vehicle and turn on the ignition; press and hold the TPMS button located on the controls to the left of the steering wheel, as well as on the dashboard, as shown in the video. If the tyre pressures are correct, the warning light will automatically reset on the instrument panel; finally, turn off the ignition and start the engine! by ScegliAuto More videos
|
|
For advertising on this site Write to info@scegliauto.com
ScegliAuto is not responsible for any inaccuracy of the data in the lists. To report any inaccuracy or your business (if you own the business in question), please write to info@scegliauto.com
Number of seconds to generate the page: 0.585
(c) ScegliAuto 2026 - info@scegliauto.com - Privacy policy VAT number: IT01247470535 |
