
|
Do it yourself
| |||
| ||||


Replacing the Dashboard Bulbs on a Scenic
Model: Renault Scenic
MK 2, Scenic 2
- Years 2003-2009
Changing the damaged dashboard bulbs? Here’s how to remove the air control knobs on a Scenic. Remove the radio from the dashboard, unscrew the air conditioning controls with a screwdriver. Detach the cover frame of the entire dashboard (if necessary, remove the gear knob). Using a plastic lever, detach the switch panel from the dashboard, pulling it out from the instrument panel as shown in the video, taking care not to break the locking tabs. After removing the knobs from the dashboard, replace the bulbs or LEDs with new ones. Test the functionality of the lighting bulbs for the knobs. Reassemble all parts after testing.
Updated on 28 March 2026 by ScegliAuto
Video tutorial
Related tutorials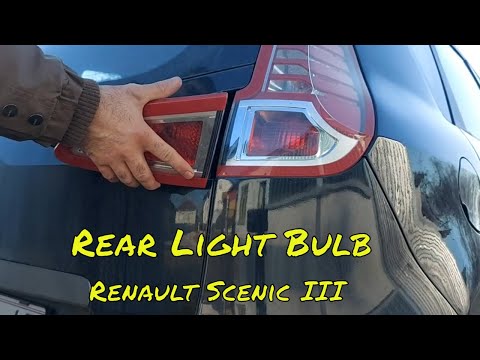
Renault Scenic
(2009-2015 /
Scenic 3, MK 3, MK III, Scenic III)
In this guide, follow the steps to remove and replace the rear headlight bulbs on the Renault Scenic. First, open the boot and start by removing the …
Renault Scenic
(2009-2015 /
Scenic 3, MK 3, MK III, Scenic III)
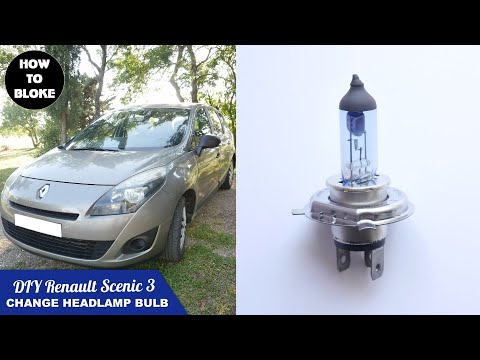
With the handbrake engaged and the engine off, start with the dipped beam bulb: remove the rear rubber cover of the affected headlight by slightly tw…

Renault Scenic
(2009-2015 /
Scenic 3, MK 3, MK III, Scenic III)
Below we will see the instructions that will allow us to disassemble and replace the front headlight of the Renault Scenic. First, we open the hood o…
Other guides you may be interested in
|
How to Bleed the Clutch on a Renault Clio?
To bleed the clutch on a Renault Clio, open the bonnet to access the components located in the engine bay: here, you will need to undo the screws that secure the battery in its housing, the intake manifold, and the coolant reservoir. This will allow you to locate the pipe through which the brake fluid flows: by inserting the other end of the pipe into a container, you can press the clutch pedal to expel all the fluid until it fills the container. by ScegliAuto More videos
|
|
For advertising on this site Write to info@scegliauto.com
ScegliAuto is not responsible for any inaccuracy of the data in the lists. To report any inaccuracy or your business (if you own the business in question), please write to info@scegliauto.com
Number of seconds to generate the page: 0.776
(c) ScegliAuto 2026 - info@scegliauto.com - Privacy policy VAT number: IT01247470535 |
