
|
Do it yourself
| |||
| ||||


Replacement of Auxiliary Belt and Tensioner
Model: Renault Clio
Clio 2, MK 2
- Years 1998-2005
To replace the auxiliary belt, you need to remove the front right wheel (passenger side) and the corresponding wheel arch liner to access the belt itself; then loosen the wheel fixing nuts before lifting the vehicle, and complete both the lifting and removal of the wheel; at this point, remove the wheel arch liner and loosen the auxiliary belt tensioner to slip off the belt and complete the removal of the tensioner itself: there is not much room for manoeuvre as the spanner must be inserted through the spokes of the pulley; then proceed in reverse for the installation of the new tensioner, then insert the new belt and tension it using a lever to push the tensioner and tighten the corresponding fixing pin.
Updated on 18 February 2026 by ScegliAuto
Video tutorial
Related tutorials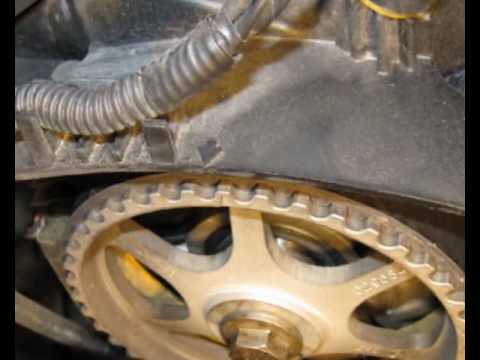
Renault Clio
(2005-2013 /
MK 3, Clio 3, Clio III)
Replacing the timing belt is a maintenance task that requires some basic mechanical knowledge, as a simple mistake could severely compromise engine o…

Renault Clio
(2012-2019 /
Clio IV, MK 4, Clio 4)
To replace the auxiliary belt on a Renault Clio IV, start by disconnecting the battery (negative terminal). Then lift the front of the vehicle and re…
Renault Clio
(2012-2019 /
Clio IV, MK 4, Clio 4)
To change the auxiliary belt on your Renault Clio, open the bonnet. For safety, disconnect the negative terminal of the battery. Safely lift the fron…
Other guides you may be interested in
|
How to Replace the Remote Battery for the Volvo XC40?
In this tutorial, you will see how to replace the battery in the remote for the Volvo XC40, a very simple and quick operation. For this, you will need a replacement battery of type CR2032 and possibly a small flathead screwdriver. First, remove the front cover by pressing the button on the metal ring, then locate the second button, press it as well, and remove the opposite cover. Next, open the circular cap, take out the old battery, and insert the new one in the opposite direction. Finally, reassemble everything. by ScegliAuto More videos
|
|
For advertising on this site Write to info@scegliauto.com
ScegliAuto is not responsible for any inaccuracy of the data in the lists. To report any inaccuracy or your business (if you own the business in question), please write to info@scegliauto.com
Number of seconds to generate the page: 0.272
(c) ScegliAuto 2026 - info@scegliauto.com - Privacy policy VAT number: IT01247470535 |
