
|
Do it yourself
| |||
| ||||


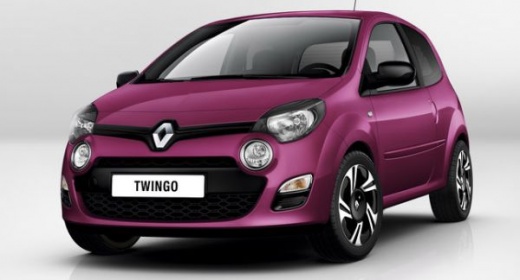
How to Replace the Lights in a Twingo 2
Model: Renault Twingo
Twingo 2
- Years:
2007, 2008, 2009, 2010, 2011, 2012, 2013, 2014
Video tutorial
Replacing the dashboard lights in a Renault Twingo 2 is a somewhat complex operation but can be done independently, aided by our video tutorial that will illustrate the steps to follow. Start the lamp maintenance operation by removing the dashboard; to do this, you must first remove the two central screws located above the air vent grille. Once the screws are removed, you can take off the left and right parts of the dashboard and finally remove the central panel using a flat screwdriver. After removing the plastic parts, disconnect the connector that holds the air conditioning buttons, which is connected to a bulb. Remove the bulb and insert a new 12-watt one. Perform the same task for all other bulbs connected to the various connectors. After replacing the bulbs, you can reassemble the dashboard.
Updated on 17 September 2026 by ScegliAuto
Related tutorials
Renault Twingo
(2007-2014 /
Twingo 2)
The Renault Twingo 2 has a single fuse box located between the steering column and the driver's door, in a small compartment covered by a plastic lid…

Renault Twingo
(1993-2007 /
Twingo 1)
In this tutorial, you will learn how to replace the rear lights on a Renault Twingo, a very simple and quick operation. First, ensure that the key is…

Renault Twingo
(2007-2014 /
Twingo 2)
This guide focuses on the Renault Twingo 2 and the replacement of one of the bulbs in the rear light assembly. All car owners know that over time, th…
Other guides you may be interested in
|
How to Remove the Rear Seat of a Hyundai Tucson?
To remove the rear seat of a Hyundai Tucson, follow these steps. Start by moving the front seats to their most forward position to gain space. Next, locate the release lever on the underside of the rear seat, near the floor. Press this lever down while pulling the seat upwards to unlock it from the anchor pins. Once unlocked, tilt the seat upwards and forwards to remove it from its position. Repeat this process for both sides of the rear seat. Be careful of any electrical cables or components that may be connected to the seat during removal. Once the rear seat is removed, the disassembly is complete. by ScegliAuto More videos
|
|
For advertising on this site Write to info@scegliauto.com
ScegliAuto is not responsible for any inaccuracy of the data in the lists. To report any inaccuracy or your business (if you own the business in question), please write to info@scegliauto.com
Number of seconds to generate the page: 0.025
(c) ScegliAuto 2026 - info@scegliauto.com - Privacy policy VAT number: IT01247470535 |
