
|
Do it yourself
| |||
| ||||



Spark Plug and Coil Replacement on a Seat Leon with Error P0304
Model: Seat Leon
5F, MK 3
- Years:
2012, 2013, 2014, 2015, 2016, 2017, 2018, 2019
Video tutorial
Here’s how to replace the spark plugs and coils on a Seat Leon with error P0304. You will need a 16 mm spark plug socket with an internal rubber, a set of new spark plugs (you can find the recommended NGK ones in the video, for example on eBay with code 353372312190 for £74.80 for a kit of 4, and the 4 coils with code 205269602035 for £110.60 with free delivery). You will also need a flat screwdriver and an OBD2 diagnostic tool to clear any errors. The diagnosis of error P0304 indicates a misfire in cylinder 4, with a rough engine, loss of power, and engine malfunction light. Disconnect the battery, remove the engine cover, disconnect the electrical connector from the coils, and gently remove them using the spark plug socket, being careful not to damage the threads. Install the new spark plugs, tightening them to a torque of 25/30 Nm, insert the coils until you hear a "click" and reconnect the electrical connectors. Reconnect the battery, clear the errors with the OBD2 tool, and start the engine. Check the condition of the old spark plugs: if they are black or oily, there may be an oil leak.
Posted on 7 March 2026 by ScegliAuto
Related tutorials
Seat Leon
(2005-2013 /
1P)
The replacement of the spark plugs of a Seat Leon model 1P vehicle is a task that can be carried out independently, also thanks to our short video tu…

Seat Leon
(2012-2019 /
5F, MK 3)
To replace the spark plugs of the Seat Leon, we open the hood, disconnect the side flexible hose from the engine cover and remove it. We cover the th…
Seat Leon
(2005-2013 /
1P)
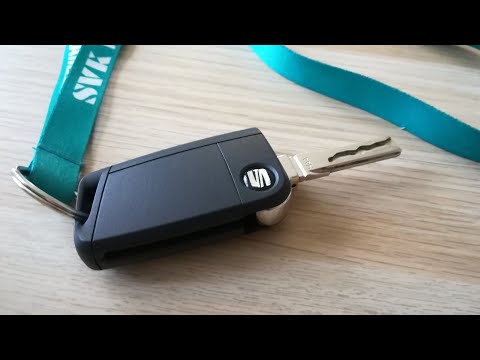
Before you start, open the physical key of your Seat Leon by simply pressing the silver button. Begin by prying off the rear cover of the key using a…
Other guides you may be interested in
|
How to Remove the Rear Seat of a Hyundai Tucson?
To remove the rear seat of a Hyundai Tucson, follow these steps. Start by moving the front seats to their most forward position to gain space. Next, locate the release lever on the underside of the rear seat, near the floor. Press this lever down while pulling the seat upwards to unlock it from the anchor pins. Once unlocked, tilt the seat upwards and forwards to remove it from its position. Repeat this process for both sides of the rear seat. Be careful of any electrical cables or components that may be connected to the seat during removal. Once the rear seat is removed, the disassembly is complete. by ScegliAuto More videos
|
|
For advertising on this site Write to info@scegliauto.com
ScegliAuto is not responsible for any inaccuracy of the data in the lists. To report any inaccuracy or your business (if you own the business in question), please write to info@scegliauto.com
Number of seconds to generate the page: 0.074
(c) ScegliAuto 2026 - info@scegliauto.com - Privacy policy VAT number: IT01247470535 |
