
|
Do it yourself
| |||
| ||||


Removing the Right Door Panel on a Smart Fortwo
Model: Smart Smart
450
- Years 1998-2007
Let's see how to remove the right door panel on a Smart Fortwo. Before starting the disassembly, disconnect the battery terminals. Using a lever or screwdriver, pry at the handle on the door panel, detach it, and disconnect the terminals of the window switch. Use a fixed screwdriver to unscrew the screws on the panel, and with a plastic lever, unclip all the clips around the perimeter of the door (remove the cover at the corner of the window). Pull off the panel, disconnect the opening lever cable, the window lift terminals, and the speakers. Finally, remove the outer panel by gripping it with your hands.
Updated on 5 March 2026 by ScegliAuto
Video tutorial
Related tutorials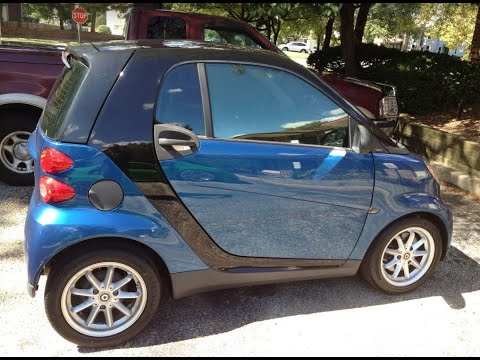
Smart
(2007-2015 /
451)
How do you remove the (outer) door panel on a Smart Fortwo? Before starting the removal work, disconnect the battery terminals located in the front e…
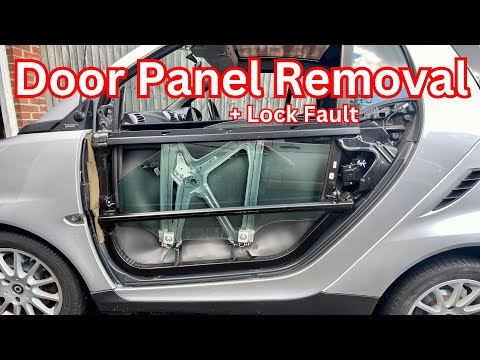
Smart
(2007-2015 /
451)
These brief steps will show you how to remove and replace the outer door panel on a Smart Fortwo. First, open the front door and start unscrewing the…
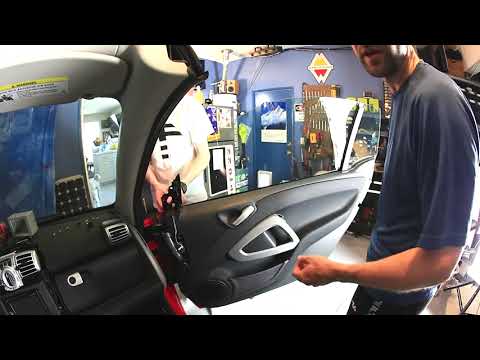
Smart
(2007-2015 /
451)
Before starting, open the door of your Smart ForTwo Cabrio. Begin by removing the side mirror, detaching the inner cover and unscrewing the fixing bo…
Other guides you may be interested in
|
Frequently Asked QuestionsHow to Replace the Remote Battery for the Volvo XC40?
In this tutorial, you will see how to replace the battery in the remote for the Volvo XC40, a very simple and quick operation. For this, you will need a replacement battery of type CR2032 and possibly a small flathead screwdriver. First, remove the front cover by pressing the button on the metal ring, then locate the second button, press it as well, and remove the opposite cover. Next, open the circular cap, take out the old battery, and insert the new one in the opposite direction. Finally, reassemble everything. by ScegliAuto More videos
|
|
For advertising on this site Write to info@scegliauto.com
ScegliAuto is not responsible for any inaccuracy of the data in the lists. To report any inaccuracy or your business (if you own the business in question), please write to info@scegliauto.com
Number of seconds to generate the page: 0.185
(c) ScegliAuto 2026 - info@scegliauto.com - Privacy policy VAT number: IT01247470535 |
