
|
Do it yourself
| |||
| ||||


How to Install Position Lights on the Smart 451
Model: Smart Smart
451
- Years 2007-2015
This guide shows how to replace the position lights on the Smart 451. After disconnecting the battery and the antenna, proceed to remove the cover of the compartment and the front bumper. Once the lamp is removed, install the position lights, securing the wiring in the appropriate clips and routing the cables to the control unit under the steering wheel. Connect the earth cable to the vehicle's chassis. From inside the vehicle, a new connection on the light connector is necessary, bringing the cable of the new lights into position. Make the electrical connections to ensure the lights function correctly and install the lamps in the appropriate position. Refit the bumper, the cover of the front compartment, and the antenna. Reconnect the battery cable and test the correct operation before hitting the road.
Updated on 24 April 2026 by ScegliAuto
Video tutorial
Related tutorials
Smart
(2007-2015 /
451)
To replace the rear headlight bulb on the Smart 451, lower the tailgate of the boot and remove the plastic cover located on the side of the boot corr…
Smart
(2007-2015 /
451)
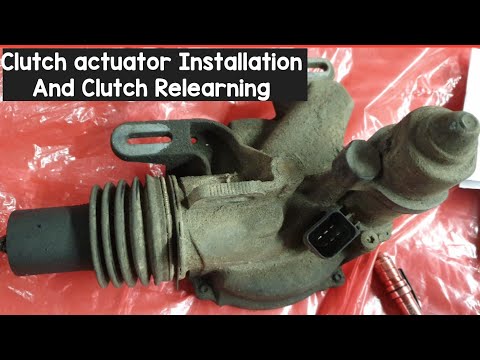
In today's tutorial video, you will learn how to install the clutch actuator on the Smart Fortwo 451 by following the instructions below. First, lift…
Smart
(2007-2015 /
451)
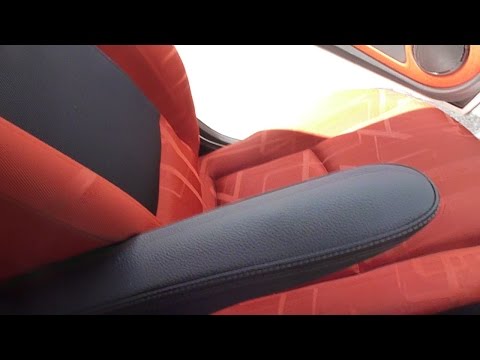
To install the armrest on the seat of the Smart 451, tilt the corresponding seat backrest forward to lift the seat upholstery starting from the botto…
Other guides you may be interested in
|
How to Replace the Remote Battery for the Volvo XC40?
In this tutorial, you will see how to replace the battery in the remote for the Volvo XC40, a very simple and quick operation. For this, you will need a replacement battery of type CR2032 and possibly a small flathead screwdriver. First, remove the front cover by pressing the button on the metal ring, then locate the second button, press it as well, and remove the opposite cover. Next, open the circular cap, take out the old battery, and insert the new one in the opposite direction. Finally, reassemble everything. by ScegliAuto More videos
|
|
For advertising on this site Write to info@scegliauto.com
ScegliAuto is not responsible for any inaccuracy of the data in the lists. To report any inaccuracy or your business (if you own the business in question), please write to info@scegliauto.com
Number of seconds to generate the page: 0.379
(c) ScegliAuto 2026 - info@scegliauto.com - Privacy policy VAT number: IT01247470535 |
