
|
Do it yourself
| |||
| ||||


How to remove the interior panel of the Smart 450.
Model: Smart Smart
450
- Years 1998-2007
To remove the interior panel of the Smart 450, a T20 Torx key is necessary, as there are 6 Torx screws to remove. After that, the internal part of the panel comes off. First, we remove the storage pocket. Then, we pull off the internal panel, which is interlocked: we must first remove the lower part and then pull the entire panel towards the steering wheel to remove the interlock without damaging it. In this way, the central panel has been removed and the interior part of the door is now accessible to perform any necessary work inside it.
Posted on 24 June 2023 by ScegliAuto
Video tutorial
Related tutorials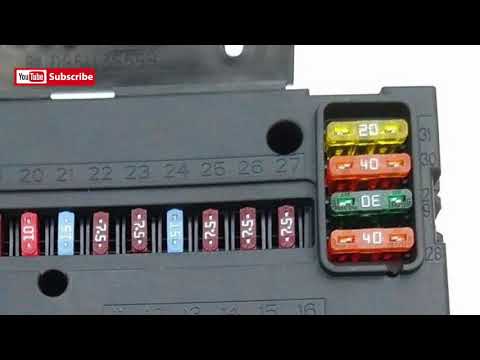
Smart
(1998-2007 /
450)
In this video we can see where the fuse box of the Smart 450 is located. In the Smart 450 we can find two fuse boxes: one positioned on the driver's …
Smart
(1998-2007 /
450)
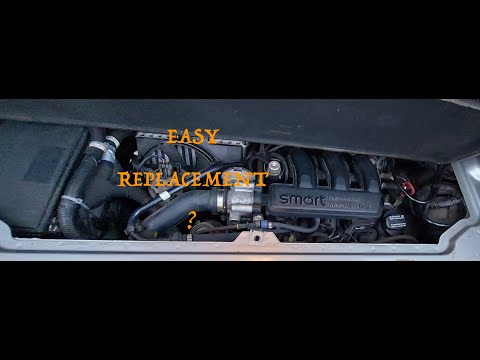
If you do not want to have problems with overheating or loss of power of the engine of your Smart 450 then you must necessarily replace the air filte…
Smart
(1998-2007 /
450)
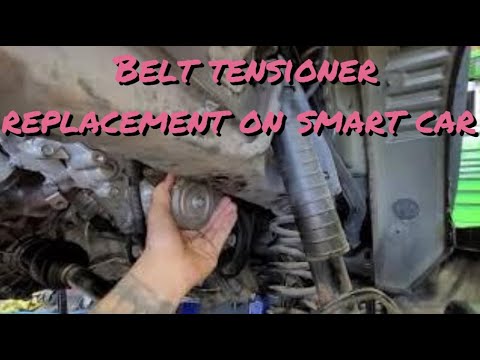
To be able to adjust the belt tension of the Smart 450, you must first access its belt tensioner. In order to access this part, the front bumper of t…
Other guides you may be interested in
|
Frequently Asked QuestionsRemoving and Replacing a Front Headlamp of a Lancia Lybra
This video explains how to remove and replace the front headlamp and its bulbs on a Lancia Lybra. The car has a very simple and quick headlamp removal system. To start, lift the bonnet, reach into the engine bay, and (specifically at the rear of the headlamp) unclip the metal tab that secures the headlamp, then use a screwdriver to undo the few Torx screws. After removing the screws, unclip the headlamp and pull it out from the bumper, disconnect the power connectors, and replace any damaged bulbs or the entire unit. The reassembly phase is very straightforward: insert the headlamp into the bumper housing as shown in the video, secure the metal tab until the headlamp clicks into place (screw in the securing screws). Finally, test the correct operation of the lights. by ScegliAuto More videos
|
|
For advertising on this site Write to info@scegliauto.com
ScegliAuto is not responsible for any inaccuracy of the data in the lists. To report any inaccuracy or your business (if you own the business in question), please write to info@scegliauto.com
Number of seconds to generate the page: 0.125
(c) ScegliAuto 2026 - info@scegliauto.com - Privacy policy VAT number: IT01247470535 |