
|
Do it yourself
| |||
| ||||



How to replace the rear bumper of the Subaru Forester MK4
Model: Subaru Forester
MK 4, SJ
- Years:
2012, 2013, 2014, 2015, 2016, 2017, 2018, 2019
Video tutorial
In this video, we can see how to replace the rear bumper of the Subaru Forester MK4: the YouTuber shows the car raised on a ramp to better illustrate where the screws to remove are located, but this operation can also be done on the ground without any issues. There are seven plastic screws to remove from the lower part of the bumper; they come off very easily. Near the light clusters, you will find two screws on the inside that allow you to remove the cover. Then go to the wheel arches, where you will find clips that, once removed, will allow you to start separating the bumper from the bodywork; do the same on the other side, and at this point, you can gently pull the bumper towards you, detaching the clips. The YouTuber also shows the reassembly, which proceeds exactly in reverse order, resting the bumper against the bodywork, reattaching the rear clips and then those from the wheel arch side. Now proceed with the internal covers of the light clusters, and finally with the plastic screws under the bumper.
Updated on 29 October 2026 by ScegliAuto
Related tutorials
Subaru Forester
(2012-2019 /
MK 4, SJ)
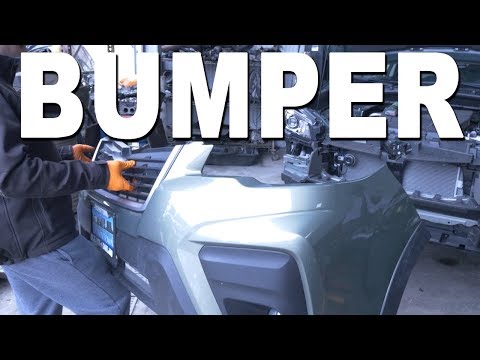
To remove the front bumper of the Subaru Forester, open the bonnet to access the screws at the front of the engine bay that secure the bumper at the …
Subaru Forester
(2012-2019 /
MK 4, SJ)
Today, we will discover the key information for removing and replacing the front bumper of the Subaru Forester. First, open the vehicle's bonnet and …

Subaru Forester
(2012-2019 /
MK 4, SJ)
Let's see in this video how to remove the front bumper from a Subaru Forester. Lift the bonnet and secure it. Use a plastic lever to remove the secur…
Other guides you may be interested in
|
How to Open the Hood of the BMW X3
Today, you will learn how to open and close the hood of the BMW X3. To perform this simple operation, lift the hood release lever located next to the door seal on the driver’s side. After pulling the lever, you will notice that the hood will lift slightly. Position yourself in front of the hood and lift it after moving the internal lever from left to right. To keep the hood secure during maintenance, use the side support rod. To close the hood, simply let it fall back into place. by ScegliAuto More videos
|
|
For advertising on this site Write to info@scegliauto.com
ScegliAuto is not responsible for any inaccuracy of the data in the lists. To report any inaccuracy or your business (if you own the business in question), please write to info@scegliauto.com
Number of seconds to generate the page: 0.043
(c) ScegliAuto 2026 - info@scegliauto.com - Privacy policy VAT number: IT01247470535 |
