
|
Do it yourself
| |||
| ||||


How to Replace the Fuel Pump on a Suzuki Baleno
Model: Suzuki Baleno
MK 1
- Years 1995-2007
Before you can start, lift your Suzuki Baleno. Begin by removing the fuel tank, unscrewing the securing bolts, and disconnecting the hoses and electrical connectors of the fuel pump. Once you have removed the tank, since the fuel pump is integrated into it, you will have access to it. Next, disconnect the hoses connected to the pump by loosening the relevant clips. After that, unscrew and remove the screws that secure the fuel pump to the tank, then disconnect the corresponding connector. Once you have completed this step, you can remove the pump, and you will have finished the disassembly. To fit the new fuel pump and reassemble the tank, simply reverse these steps, and the replacement will be complete.
Updated on 4 April 2026 by ScegliAuto
Video tutorial
Related tutorials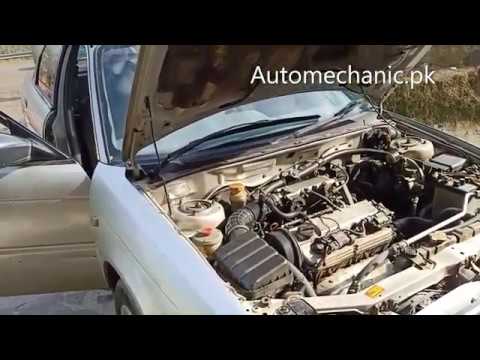
Suzuki Baleno
(1995-2007 /
MK 1)
How to replace the fuel pump if damaged? Let’s see the disassembly of the parts to carry out the replacement. Remove the engine soundproofing panel, …
Suzuki Baleno
(2015-2020 /
MK 2)
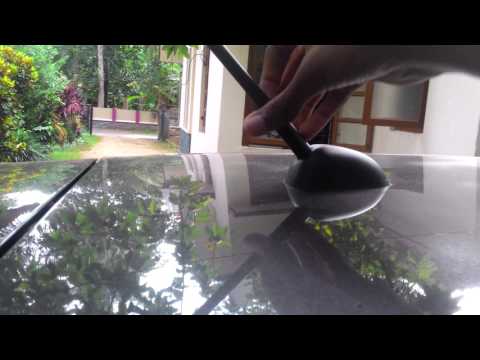
Do you want to replace the damaged radio antenna on your Suzuki Baleno and don't know how to proceed? Follow these simple steps. After purchasing a n…
Suzuki Baleno
(1995-2007 /
MK 1)
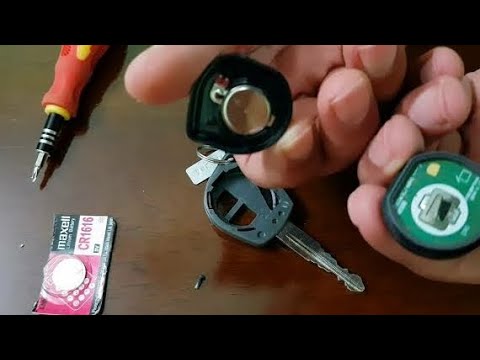
If the smart key for your Suzuki Baleno Mk1 (1995-2007) has suddenly stopped working, don’t rush to buy a new one as the solution may be much simpler…
Other guides you may be interested in
|
How to Open the Bonnet of a Renault Megane if the Lever is Broken?
If the lever that unlocks the bonnet of the Renault Megane is broken or not functioning, there is an emergency procedure to unlock the mechanism: remove the right front grille located at the top of the bumper. Once the grille is removed, you can locate the actuator mechanism: by pulling the spring in this position, you can unlock the actuator, allowing you to lift the bonnet and access the components located inside the engine compartment. You can then close the bonnet simply by lowering it. by ScegliAuto More videos
|
|
For advertising on this site Write to info@scegliauto.com
ScegliAuto is not responsible for any inaccuracy of the data in the lists. To report any inaccuracy or your business (if you own the business in question), please write to info@scegliauto.com
Number of seconds to generate the page: 0.468
(c) ScegliAuto 2026 - info@scegliauto.com - Privacy policy VAT number: IT01247470535 |
