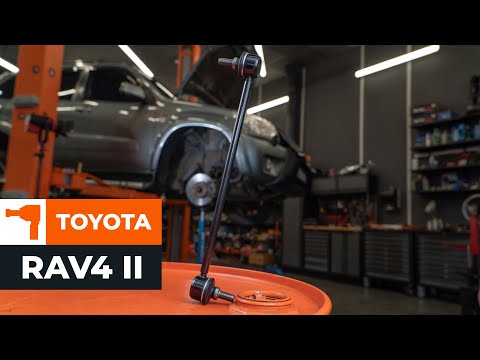
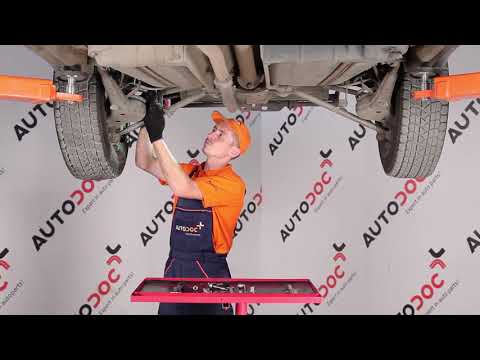
Toyota Rav 4 - Anti-roll bar
Anti-roll Bar Toyota Rav 4 (2013-2018 / mk 4, xa 40)
Anti-roll Bar Toyota Rav 4 (2000-2006 / xa 20, mk 2)
Airbag (4)
Alternator (6)
Speaker (1)
Shocks (1)
Antenna (2)
Car stereo (9)
Anti-roll bar (3)
Roof rack bars (2)
Battery (28)
Ignition coil (1)
Air vents (1)
Control arm (1)
Transmission (3)
Spark plugs (7)
Glow plugs (2)
Body (8)
Glove compartment (8)
Key (52)
Trunk lock (1)
Timing belt (25)
V-belt (4)
Air conditioner (1)
Onboard computer (15)
Checks and maintenance (86)
Throttle body (1)
Dashboard (2)
Bearing (3)
Brake rotors (2)
Wheel spacers (1)
Rear bench seat (4)
Headlight (15)
Tail light (15)
Fog lights (6)
Air filter (20)
Cabin air filter (20)
Fuel filter (2)
Diesel fuel filter (10)
Oil filter (6)
Clutch (9)
Fuel injectors (3)
Window switch (1)
Accessory kit (7)
Light bulb (8)
Side marker bulb (2)
Headlight bulb (22)
Tail light bulb (11)
Interior dome light bulb (10)
Antifreeze coolant (3)
Instrument panel light (2)
License plate light (4)
(1)
Handle (3)
Engine (3)
Power window motor (2)
Starter motor (7)
Transmission fluid (4)
Engine oil (14)
Clock (35)
Door trim panel (18)
Front bumper (7)
Rear bumper (8)
Brake pads (9)
Tires (2)
Shift knob (8)
Pump (1)
Fuel pump (16)
Car door (2)
Instrument cluster (8)
Radiator (3)
Heater core (1)
Wheel (6)
Fuse box (48)
Seat (13)
Parking sensors (3)
Door lock (3)
Oxygen sensor (1)
Suspension system (2)
Side mirror (12)
Rearview mirror (2)
Warning light – error code (39)
(58)
Tire pressure warning light (34)
Service warning light (156)
Fuel cap (7)
Windshield wipers (15)
Drivetrain (4)
Windshield washer nozzle (1)
Valve (2)
EGR valve (5)
Blower motor (5)
Steering wheel (5)
|
How to Replace the External Wing Mirror on a Ford C MAX

In the event of a breakage, it will be necessary to replace the external wing mirror on the 2011 Ford C MAX. This operation is easily performed independently. Start by removing the internal cover of the mirror with a plastic lever. Then, use a socket wrench to remove the securing pins. Once the pins are removed, you can take off the mirror, but not before disconnecting the power connectors. Then proceed to fit the new mirror. First, connect the connectors and then secure the mirror to its housing with the pins. Refit the plastic cover and test the operation of the electric mirror using the controls.
Watch the video!
by ScegliAuto
More videos
|