
|
Do it yourself
| |||
| ||||



Disassembly and installation of a 2 DIN car radio on a Toyota Yaris
Model: Toyota Yaris
Xp130
- Years:
2011, 2012, 2013, 2014, 2015, 2016, 2017, 2018, 2019
This video is currently unavailable
Let's see how to replace the original car radio with a car tablet while keeping all the car's factory functions (steering wheel controls, hybrid battery information, tire pressure, climate control, rearview camera). We start by removing the front panel, which is not screwed but only clipped. Once the front panel is removed, remove the 4 screws holding the car radio in place, and extract it. The plastic clips that hold the original system to the frame must be moved from the original front panel to the new one for the car tablet. The YouTuber does not specify which device it is, but we can find a suitable one by searching for "2DIN car radio for Toyota Yaris" specifying the year of our model. In this way, we can use a wiring harness like the one in the video, designed to be plug & play, in order to retain all the original functions and add Android Auto and Apple CarPlay functionalities.
Posted on 22 October 2025 by ScegliAuto
Related tutorials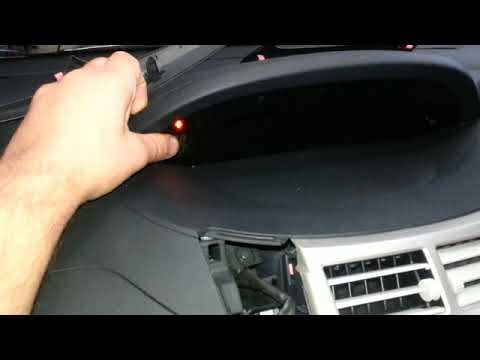
Toyota Yaris
(2005-2011 /
Xp90)
Let's see how to replace the radio in the Toyota Yaris with all the covering pieces of the central dashboard. Remove the radio trim frame with a plas…
Toyota Yaris
(2005-2011 /
Xp90)
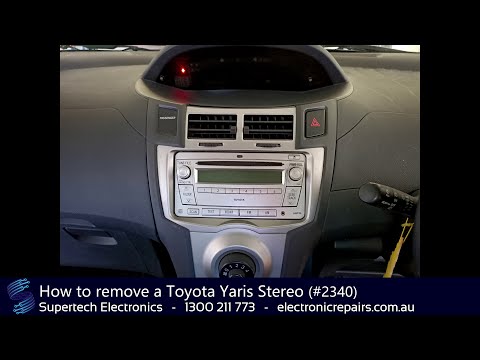
Today, you will see the steps to remove the car radio from a second-generation Toyota Yaris. First, get inside the car and remove the side trims and …

Toyota Yaris
(2005-2011 /
Xp90)
Want to remove the radio from the Yaris? Let's look at disassembling the components of the Toyota. Remove the plastic trim on the sides of the radio …
Other guides you may be interested in
|
Frequently Asked QuestionsHow to Remove the Rear Seat of a Hyundai Tucson?
To remove the rear seat of a Hyundai Tucson, follow these steps. Start by moving the front seats to their most forward position to gain space. Next, locate the release lever on the underside of the rear seat, near the floor. Press this lever down while pulling the seat upwards to unlock it from the anchor pins. Once unlocked, tilt the seat upwards and forwards to remove it from its position. Repeat this process for both sides of the rear seat. Be careful of any electrical cables or components that may be connected to the seat during removal. Once the rear seat is removed, the disassembly is complete. by ScegliAuto More videos
|
|
For advertising on this site Write to info@scegliauto.com
ScegliAuto is not responsible for any inaccuracy of the data in the lists. To report any inaccuracy or your business (if you own the business in question), please write to info@scegliauto.com
Number of seconds to generate the page: 0.049
(c) ScegliAuto 2026 - info@scegliauto.com - Privacy policy VAT number: IT01247470535 |
