
|
Do it yourself
| |||
| ||||


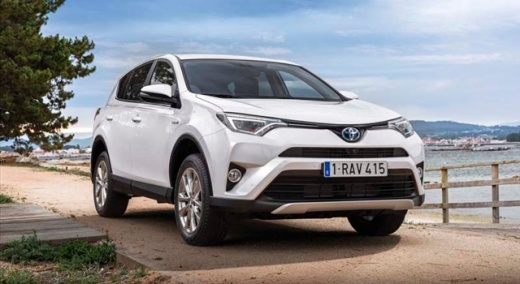
Replace Dipped Beam on Toyota Rav 4
Model: Toyota Rav 4
MK 4, Xa40
- Years 2013-2018
Open the bonnet and place the support rod. For safety, disconnect the battery. Slightly unscrew the front cover of the headlight using both hands and remove it. At this point, unscrew and pull back the connector of the dipped beam bulb on your Rav 4. As shown in the video, to separate the connector, press the lever on the lower part and pull. Replace the bulb and reconnect the connector. Insert it in position ensuring it is perfectly seated, screw on the rear cover, reconnect the battery, then close the bonnet and you're done.
Updated on 19 April 2026 by ScegliAuto
Video tutorial
Related tutorials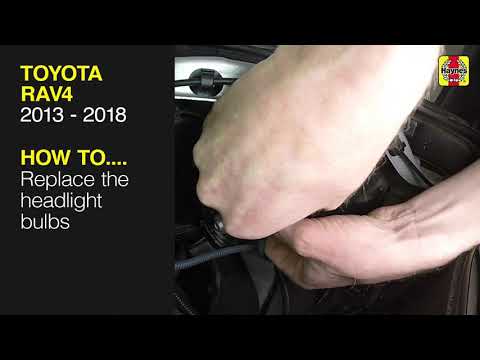
Toyota Rav 4
(2013-2018 /
MK 4, Xa40)
In this tutorial, remove the dipped beam bulb from a fourth-generation Toyota RAV4. First, open the bonnet by pulling the release lever located under…
Toyota Rav 4
(2006-2013 /
MK 3, Xa30)
The fuses in the Toyota RAV 4 are located inside the designated fuse boxes within the vehicle: this model has three boxes. The first is situated insi…
Toyota Rav 4
(2000-2006 /
Xa20, MK 2)
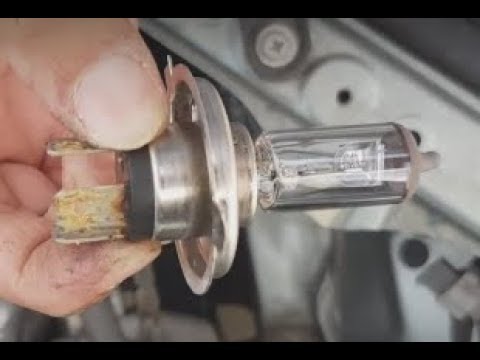
Today, we will see in this video tutorial how to remove and replace the front headlamp bulb of a Toyota Rav 4 in simple and quick steps. First, open …
Other guides you may be interested in
|
How to Open the Fuel Filler Flap on a Hyundai i20?
In this tutorial, you will see how to open the fuel filler flap on a Hyundai i20, a very simple operation similar to that of many vehicles. First, go inside the cabin; it is not necessary to insert the key or unlock all the locks, then locate and operate the lever situated in the lower left area of the cabin, right next to the driver's seat. Once done, exit the vehicle, fully open the flap, and unscrew the fuel cap. To close the flap, simply press it gently until you hear a click. by ScegliAuto More videos
|
|
For advertising on this site Write to info@scegliauto.com
ScegliAuto is not responsible for any inaccuracy of the data in the lists. To report any inaccuracy or your business (if you own the business in question), please write to info@scegliauto.com
Number of seconds to generate the page: 0.182
(c) ScegliAuto 2026 - info@scegliauto.com - Privacy policy VAT number: IT01247470535 |
