
|
Do it yourself
| |||
| ||||


Replacing the front headlight on a Toyota Rav-4
Model: Toyota Rav 4
MK 1, Xa10
- Years:
1994, 1995, 1996, 1997, 1998, 1999, 2000
Video tutorial
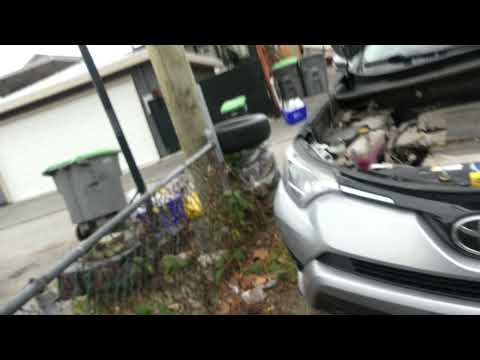
If you find that the front headlight bulb on your Toyota Rav4 has blown, replace it as soon as possible. To do this, open the bonnet and position yourself in front of the affected headlight, disconnect the electrical connector and remove the rubber protective cap. Release the bulb by unfastening the metal clip that holds it in place, and pull it out. Insert the new bulb, taking care not to touch the glass with bare fingers and ensuring it is correctly positioned. Secure the clip and replace the protective cap and the electrical connector, then check that it works correctly.
Updated on 24 August 2026 by ScegliAuto
Related tutorials
Toyota Rav 4
(2000-2006 /
Xa20, MK 2)
Replace the headlamp on a Toyota Rav 4. Lift the bonnet and secure it. Remove the central grille and the bodywork piece below it: there are securing …
Toyota Rav 4
(2013-2018 /
Xa40, MK 4)
If you want to learn how to replace the front headlamp bulb on your Toyota RAV 4 (2013-2018), carefully read the following instructions and put them …

Toyota Rav 4
(2013-2018 /
Xa40, MK 4)
Let's see how to replace the bulbs located in the front headlight of a Toyota Rav 4. Open the bonnet by pulling the lever located at the bottom right…
ScegliAuto offers an extensive international collection of automotive tutorials available in 12 languages. Each guide combines instructional videos with original explanations written by experienced human editors, along with information about the car models covered.
Other guides you may be interested in
|
What does the red or orange zig-zag warning light mean on the Dacia Sandero?
In this video, you will learn what the warning light depicting a red or orange zig-zag on the dashboard of the Dacia Sandero means. This is a multifunction warning light; if it appears red, it is a prompt to stop as soon as possible, switch off the engine, and exit the vehicle quickly, contacting a recovery service and the Dacia Dealer. If it lights up orange, it indicates an electronic fault in the vehicle; you can continue driving, but you must reach a Dacia service centre as soon as possible. If it lights up alongside the spanner symbol, it means it is time for a service, which is due every year or 10,000 miles (whichever comes first). The service is mandatory to maintain the warranty. If it lights up together with the tyre warning light, it indicates a loss of pressure in one of the tyres. You should check all the tyres as soon as possible to identify the source of the pressure loss. If it stays on with the engine warning light, it indicates a problem with the vehicle's emissions system; if it flashes, the issue may be a component of the engine, such as the spark plugs or coil, for example. On diesel versions, it may light up alongside the glow plug symbol, indicating a related issue. If it lights up with the ESP symbol, it means there is a fault in the system that needs checking. by ScegliAuto More videos
|
|
For advertising on this site Write to info@scegliauto.com
ScegliAuto is not responsible for any inaccuracy of the data in the lists. To report any inaccuracy or your business (if you own the business in question), please write to info@scegliauto.com
Number of seconds to generate the page: 0.071
(c) ScegliAuto 2026 - info@scegliauto.com - Privacy policy - About us VAT number: IT01247470535 |
