
|
Do it yourself
| |||
| ||||


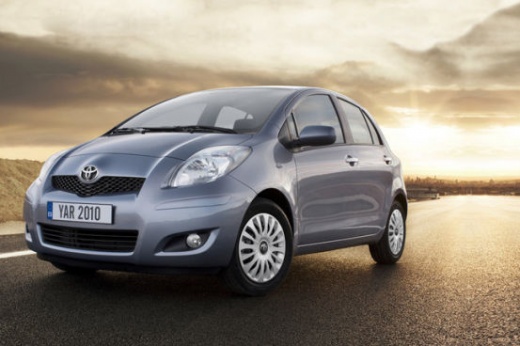
Replacing the Anti-Roll Bar on Your Car
Model: Toyota Yaris
Xp90
- Years:
2005, 2006, 2007, 2008, 2009, 2010, 2011
Video tutorial
This guide shows, in its various steps, how to replace the anti-roll bars on your car. To perform this task, you will need to lift the car and secure the wheels. Almost certainly, when changing the anti-roll bars, you will also need to replace the bushes. To remove the anti-roll bars, leverage against the chassis; after detaching and removing it, proceed with the replacement. Insert the bushes and reposition everything following the exact sequence you have memorised. Position the jack under the arms to reduce the load on the suspension and lift the car to loosen the fastening nuts. Then, loosen the screws and remove the bar. This way, you can easily replace the anti-roll bar on your car.
Updated on 21 February 2026 by ScegliAuto
Related tutorials
Toyota Yaris
(2005-2011 /
Xp90)
The following guide shows how to replace the brake pads on your car, requiring a bit of free time and a pinch of patience, along with good manual ski…

Toyota Yaris
(1999-2005 /
Xp10)
The following guide shows how to replace the bearings on your car. When starting the replacement, loosen and then remove the bolts of the wheel, whic…

Toyota Yaris
(2020-2026 /
MK 4)
When one or more tyres are flat or punctured, the instrument panel alerts you with a warning light shaped like a deflated tyre, with an exclamation m…
Other guides you may be interested in
|
How to Remove the Rear Seat of a Hyundai Tucson?
To remove the rear seat of a Hyundai Tucson, follow these steps. Start by moving the front seats to their most forward position to gain space. Next, locate the release lever on the underside of the rear seat, near the floor. Press this lever down while pulling the seat upwards to unlock it from the anchor pins. Once unlocked, tilt the seat upwards and forwards to remove it from its position. Repeat this process for both sides of the rear seat. Be careful of any electrical cables or components that may be connected to the seat during removal. Once the rear seat is removed, the disassembly is complete. by ScegliAuto More videos
|
|
For advertising on this site Write to info@scegliauto.com
ScegliAuto is not responsible for any inaccuracy of the data in the lists. To report any inaccuracy or your business (if you own the business in question), please write to info@scegliauto.com
Number of seconds to generate the page: 0.025
(c) ScegliAuto 2026 - info@scegliauto.com - Privacy policy VAT number: IT01247470535 |
