
|
Do it yourself
| |||
| ||||


How to Activate Fog Lights on the ECU
Model: (Various brands) Various
Installing fog lights on a vehicle that didn't have them from the factory doesn't guarantee they will work. You must communicate the installation to the ECU so it knows they are enabled and displays the warning light on the dashboard. Here's how to do it. There are two options: the first is with the Multiecuscan software and a connector to be plugged into the OBD port. The software costs around £50.00 and can be downloaded from multiecuscan.net. As for the OBD reader, you can find as many as you need on e-commerce sites at various prices. Connect the interface to the OBD reader, then connect it via USB to your laptop. Follow the instructions from your YouTuber, select your interface on COM5, then select make, model, and version. Choose the ECU you are interested in. Connect. Go to updates and see that the fog lights are indeed disabled. Execute the chosen function, confirm, and see that the function you selected is enabled. Go to "Proxi Alignment" and confirm. The procedure is now complete. Check if it is activated. Operation completed successfully.
Updated on 25 August 2026 by ScegliAuto
Video tutorial
Related tutorials
(Various brands) Various
Many cars, even in the most basic versions, already have the electrical wires and connectors installed in the bumpers for future fog lights; this all…
(Various brands) Various
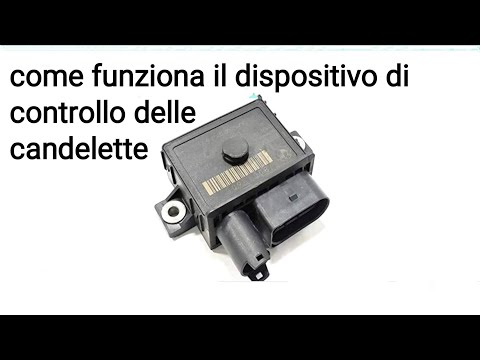
In this tutorial video, see how the glow plug control device works: the pre-heating system with glow plugs is equipped with a control device and cons…

(Various brands) Various
If our fog lights have yellowed over time, replacing them is unnecessary. Let's follow the suggestion of the YouTuber, and enhance this feature by wr…
Other guides you may be interested in
|
How to Open the Bonnet on the Lancia Y
To open the bonnet on this vehicle, follow these simple instructions: first, open the driver's door and locate the lever positioned just below the dashboard, marked with an image of the vehicle with the bonnet open. Pull this lever towards you until you hear a "click" indicating the bonnet is released. Next, exit the cabin and stand in front of the bonnet to disengage the safety catch and complete the opening. To do this, slightly lift the bonnet, locate the yellow lever underneath, and pull it to the left to fully release and open the bonnet. by ScegliAuto More videos
|
|
For advertising on this site Write to info@scegliauto.com
ScegliAuto is not responsible for any inaccuracy of the data in the lists. To report any inaccuracy or your business (if you own the business in question), please write to info@scegliauto.com
Number of seconds to generate the page: 0.258
(c) ScegliAuto 2026 - info@scegliauto.com - Privacy policy VAT number: IT01247470535 |
