
|
Do it yourself
| |||
| ||||


How to replace the rear brake pads of the VW Golf 7
Model: Volkswagen Golf
Golf VII, MK 7, Golf 7
- Years 2012-2019
When you want to replace the rear brake pads of the Volkswagen Golf mk7 model, you need to open the brake fluid reservoir cap and lift the car to remove the rear wheels and have access to the pads. If your car has an electronic handbrake, you need to connect the vehicle to the diagnostic tool to select maintenance mode. We continue the replacement of the pads by inserting a flat screwdriver into the outer end of the front caliper flex and then levering to retract the piston. Using a screwdriver, we lift the pad support spring and then remove it, also removing the caliper guide pins and screws. To completely remove the caliper, it is necessary to disconnect the ABS sensor by pushing the tab, finally remove the pad by sliding it out of the disc. To insert the new pad, we must insert the new pad inside and connect the caliper, insert the ABS sensor and then the spring. We adjust everything and remount the wheel before lowering the car back to the ground.
Posted on 11 November 2024 by ScegliAuto
Video tutorial
Related tutorials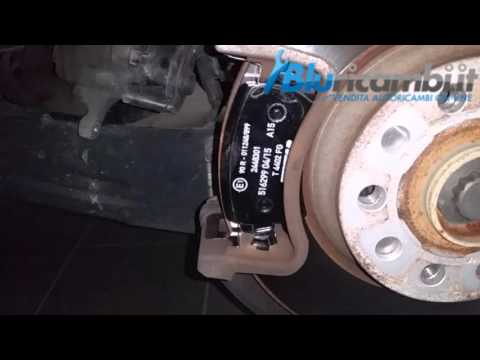
Volkswagen Golf
(2012-2019 /
Golf VII, MK 7, Golf 7)
Let's see how to replace the rear brake pads on a Volkswagen Golf Mk7. Lift the car with a column lift (to the desired height), then remove the wheel…
Volkswagen Golf
(1997-2003 /
Golf IV, MK 4, Golf 4)
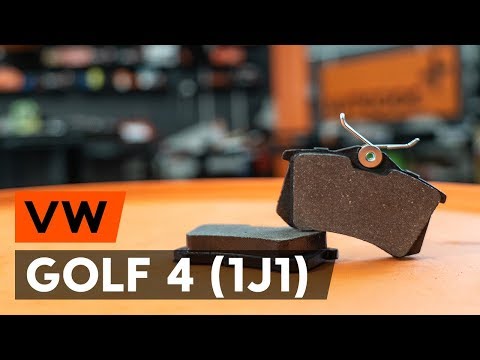
This brief video tutorial shows how to replace the rear brake pads on a fourth-generation Volkswagen, produced from 1997 to 2003. Start by lifting th…

Volkswagen Golf
(2003-2008 /
MK 5, Golf 5, Golf V)
To replace the rear brake pads, you first need the specific tool to rotate and retract the caliper piston; with that said, lift the vehicle (with the…
Other guides you may be interested in
|
How to Replace the External Wing Mirror on a Ford C MAX
In the event of a breakage, it will be necessary to replace the external wing mirror on the 2011 Ford C MAX. This operation is easily performed independently. Start by removing the internal cover of the mirror with a plastic lever. Then, use a socket wrench to remove the securing pins. Once the pins are removed, you can take off the mirror, but not before disconnecting the power connectors. Then proceed to fit the new mirror. First, connect the connectors and then secure the mirror to its housing with the pins. Refit the plastic cover and test the operation of the electric mirror using the controls. by ScegliAuto More videos
|
|
For advertising on this site Write to info@scegliauto.com
ScegliAuto is not responsible for any inaccuracy of the data in the lists. To report any inaccuracy or your business (if you own the business in question), please write to info@scegliauto.com
Number of seconds to generate the page: 0.238
(c) ScegliAuto 2026 - info@scegliauto.com - Privacy policy VAT number: IT01247470535 |
