
|
Do it yourself
| |||
| ||||


How to build a wireless charger in our car with minimal expense
Model: Volkswagen Golf
MK 6, Golf VI, Golf 6, 5K1
- Years 2008-2012
In this video, we will see how to build a wireless charger in our car with minimal expense. In this case, we are using a Volkswagen Golf VI, but the system can be applied to any vehicle. We used the storage compartment door located between the two front seats, and also the USB port located at the base of the dashboard. The magnetic plate can be found on Amazon with the code B0BPYHHB6L at a price of 17.39 euros, including delivery costs, so at a higher price than indicated by the youtuber, but we couldn't find anything at that price. However, this is a plug & play and much easier to install.
Posted on 13 February 2025 by ScegliAuto
Video tutorial
Related tutorials
Volkswagen Golf
(2012-2019 /
Golf VII, MK 7, Golf 7)
Let's see how to activate App Connect on a Volkswagen car, whether it's CarPlay or Android Auto. The system connects wirelessly, linking with all our…

Volkswagen Golf
(2003-2008 /
MK 5, Golf 5, Golf V)
When the bushes (silent blocks) of the front suspension wishbone fail, the ride over uneven surfaces becomes particularly noisy, not to mention the l…
Volkswagen Golf
(2003-2008 /
MK 5, Golf 5, Golf V)
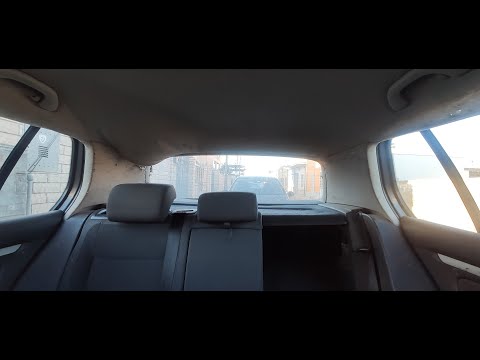
The headlining of your Volkswagen Golf 5 varies significantly in cost depending on the quality of the material and the type of damage. Purchasing the…
Other guides you may be interested in
|
Frequently Asked QuestionsHow to Connect the Cables to the Battery of the Citroen Xsara Picasso?
In this tutorial, you will see how to connect the cables to the battery of the Citroen Xsara Picasso, useful if you need to recharge it or perform an emergency start. First, ensure the key is not inserted, then open the bonnet and move to the front of the left headlamp. Next, locate the bolt just behind the filter box and connect the positive terminal clamp to it. Now you can connect the negative terminal to any point on the chassis, such as the indicated point. Once the operation is complete, ensure you disconnect the negative first and then the positive. by ScegliAuto More videos
|
|
For advertising on this site Write to info@scegliauto.com
ScegliAuto is not responsible for any inaccuracy of the data in the lists. To report any inaccuracy or your business (if you own the business in question), please write to info@scegliauto.com
Number of seconds to generate the page: 0.188
(c) ScegliAuto 2026 - info@scegliauto.com - Privacy policy VAT number: IT01247470535 |
