
|
Do it yourself
| |||
| ||||


How to Replace Headlight Bulbs on VW Golf
Model: Volkswagen Golf
MK 5, Golf 5, Golf V
- Years 2003-2008
Here’s how to replace the front headlight bulbs on a Volkswagen Golf 5: open the bonnet by pulling the lever located at the bottom right of the dashboard and secure it with the prop. Locate the rubber inspection cap at the back of the headlight and remove it. Once you’re here, you will find the bulbs with metal clips; pull the bulb holders out of the headlight and extract the damaged bulbs using a screwdriver. Fit the new bulbs (ensuring they are the correct type and size) and insert the bulb holder back into the headlight housing. Reassemble all the parts removed earlier.
Updated on 6 March 2026 by ScegliAuto
Video tutorial
Related tutorials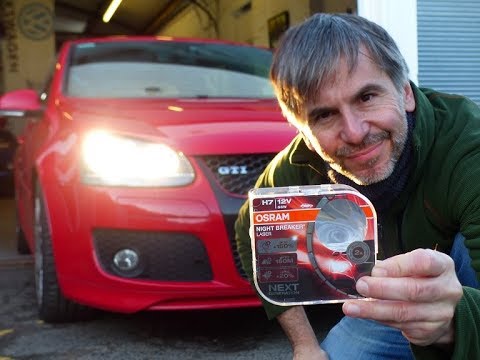
Volkswagen Golf
(2003-2008 /
MK 5, Golf 5, Golf V)
How do you remove the front headlight bulbs? Here’s how to take out the bulbs from the Golf 5 headlights. Lift the front bonnet, then locate the head…
Volkswagen Golf
(2012-2019 /
Golf VII, MK 7, Golf 7)
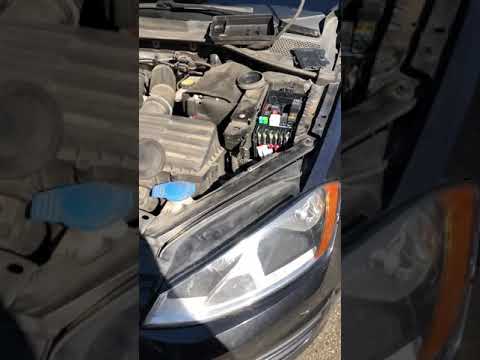
Do you want to remove the front headlight bulbs from your Golf 7? Here’s how to remove the bulbs inside the front headlight of the car. Open the bonn…

Volkswagen Golf
(2012-2019 /
Golf VII, MK 7, Golf 7)
In this tutorial we can see how to replace the rear headlight bulbs in the Volkswagen Golf, an extremely simple and quick operation. First of all, ma…
Other guides you may be interested in
|
Frequently Asked QuestionsWhere is the Spare Wheel in the Peugeot 5008?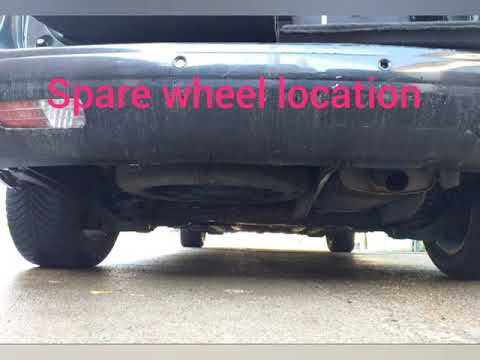
This video shows where the spare wheel is located in the Peugeot 5008 and how to access it, useful in case of a puncture. As shown, the wheel is not in the usual boot compartment but underneath it, outside the vehicle. To free the wheel, first gather the tools provided, then open the boot, locate the small indicated hatch, and open it. Next, loosen the bolt just released using the large socket wrench enough to lower the wheel to the ground. by ScegliAuto More videos
|
|
For advertising on this site Write to info@scegliauto.com
ScegliAuto is not responsible for any inaccuracy of the data in the lists. To report any inaccuracy or your business (if you own the business in question), please write to info@scegliauto.com
Number of seconds to generate the page: 0.266
(c) ScegliAuto 2026 - info@scegliauto.com - Privacy policy VAT number: IT01247470535 |
