
|
Do it yourself
| |||
| ||||


How to Replace the Headlight Supports on a Volkswagen Polo 6R?
Model: Volkswagen Polo
Polo 5, Polo V, MK 5, MK V, 6R
- Years 2009-2017
In this video, you will see how to replace the supports (both lower and upper) that hold the front headlight of a Volkswagen Polo 6R. You can find the complete repair kit (specify if it is for the left or right headlight) on tarostrade.it with EAN code 3800957983596 for £6.17, with delivery in one day for £6.49. Remove the T30 screws that secure the headlight, disconnect the connectors, and extract the headlight from the housing. To replace the lower support, access the T30 screw (an angled screwdriver will be useful, and be careful as if the screw falls, you will need to search for it in the wheel arch). Replace the support with the new one, tightening the screw. Now move on to the upper support, cut it, remove any plastic residue, insert the new support, and secure it with T20 screws without over-tightening. It’s not a difficult or lengthy job, but it requires precision.
Posted on 30 April 2026 by ScegliAuto
Video tutorial
Related tutorials
Volkswagen Polo
(2001-2009 /
MK IV, Polo IV, Polo 4, MK 4, 9N)
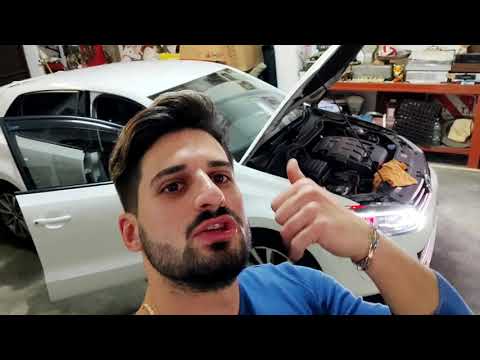
To remove the button for turning the headlights on and off on the Volkswagen Polo model 9n, you need to rotate the knob towards the centre at the mar…
Volkswagen Polo
(2017-2025 /
Polo VI, Polo 6, MK 6, AW1, MK VI)
Let’s see how to install beautiful aftermarket headlights on a Volkswagen Polo 6R. These headlights are from VLand, and you can find them on any e-co…
Volkswagen Polo
(1994-2003 /
MK III, Polo III, Polo 3, MK 3, 6N)
Let’s replace the front headlight bulbs on your Volkswagen Polo. Here’s how to remove them from the headlights. Open the front bonnet by pulling the …
Other guides you may be interested in
|
How to Reset the Tyre Pressure Light on the Opel Grandland X
While driving, if you notice the tyre pressure warning light coming on, first check the actual inflation pressure of the tyres and, if necessary, restore the pressures recommended by the manufacturer. After restoring the correct pressures, you need to reset the warning light that has illuminated on the instrument cluster. To do this, locate the reset button on the lower central console. Press this button and hold it down for at least 3 seconds, after which the low pressure indication will turn off. by ScegliAuto More videos
|
|
For advertising on this site Write to info@scegliauto.com
ScegliAuto is not responsible for any inaccuracy of the data in the lists. To report any inaccuracy or your business (if you own the business in question), please write to info@scegliauto.com
Number of seconds to generate the page: 0.080
(c) ScegliAuto 2026 - info@scegliauto.com - Privacy policy VAT number: IT01247470535 |
