
|
Do it yourself
| |||
| ||||


How to replace the auxiliary belt in the Volkswagen Caddy van?
Model: Volkswagen Caddy
MK 3, 2K
- Years:
2003, 2004, 2005, 2006, 2007, 2008, 2009, 2010, 2011, 2012, 2013, 2014
Video tutorial
In this tutorial, you will see how to replace the auxiliary belt in the Volkswagen Caddy van, a very simple and quick operation. First, ensure the engine is cool enough to work safely, then open the bonnet and remove the intake hose. Next, unscrew the bolts securing the fuel filter, move it aside, grasp the tensioner with a 16mm spanner, release the tension, and lock it by inserting an Allen key into the indicated hole. At this point, simply remove the old belt, position the new one according to the diagram, and reassemble everything by following the reverse procedure.
Posted on 20 August 2026 by ScegliAuto
Related tutorials
Volkswagen Caddy
(2003-2020 /
MK 3, 2K)
In this tutorial, you will see how to replace the auxiliary belt on a Volkswagen Caddy van. This is a simple task but requires good manual skills. Fi…

Volkswagen Caddy
(2003-2020 /
MK 3, 2K)
The auxiliary belt drives the alternator, air conditioning, and power steering pump, and should be checked every 37,282 miles. Take a photo of the be…
Volkswagen Caddy
(2003-2020 /
MK 3, 2K)
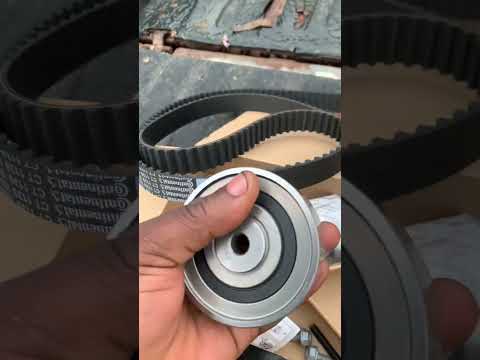
Follow the main steps to remove and replace the timing belt on the Volkswagen Caddy 2.0 TDI. First, open the bonnet of your car and start by removing…
ScegliAuto offers an extensive international collection of automotive tutorials available in 12 languages. Each guide combines instructional videos with original explanations written by experienced human editors, along with information about the car models covered.
Other guides you may be interested in
|
How to Replace the Thermostat on a Fiat Panda 169
This video outlines all the necessary steps to replace the thermostat on a Fiat Panda 169, including how to replace the temperature sensor. By following the steps in this video, you can replace the faulty thermostat on your Fiat Panda yourself, saving on labour costs charged by a garage. This job will require some time and specific tools to disassemble and reassemble everything attached to the thermostat to replace it without causing damage to the vehicle. by ScegliAuto More videos
|
|
For advertising on this site Write to info@scegliauto.com
ScegliAuto is not responsible for any inaccuracy of the data in the lists. To report any inaccuracy or your business (if you own the business in question), please write to info@scegliauto.com
Number of seconds to generate the page: 0.219
(c) ScegliAuto 2026 - info@scegliauto.com - Privacy policy - About us VAT number: IT01247470535 |
