
|
Do it yourself
| |||
| ||||


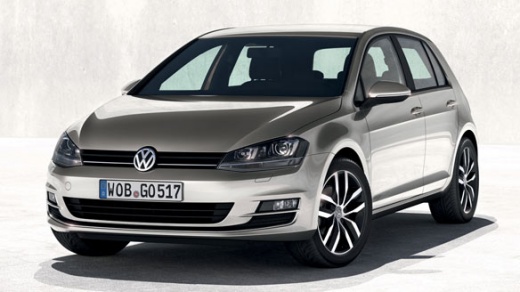
How to connect a reverse camera to a Volkswagen Golf 7.5
Model: Volkswagen Golf
MK 7, Golf 7, Golf VII
- Years:
2012, 2013, 2014, 2015, 2016, 2017, 2018, 2019
Video tutorial
Installing an aftermarket reverse camera (from AliExpress, code 1005006398970934 for £67.39 with free delivery) on the Golf 7.5 is a complex operation, but feasible with the right tools. The kit includes a motorised module, wiring, and a new VW logo. Remove the inner trim of the boot lid (plastic covers and third brake light). Replace the original VW emblem with the new module that integrates the reverse camera. Connect the drain tube. The cables should be routed along the right side of the vehicle, from the boot to the dashboard. Power is taken from the fuse box (F4). The ground should be connected to a nearby grounding point. For the video signal, the pins should be inserted into the blue connector of the radio (pin 11 for the video signal and for dynamic guidelines, a signal from the grey connector is used). There is no need to code the system with VCDS: the reverse camera works in plug-and-play. The lines that turn with the steering wheel are activated by connecting the bridged cables to the OBD signal. After connecting, test the operation and refit the trims. The result is excellent: clear night vision and dynamic lines.
Posted on 21 August 2026 by ScegliAuto
Related tutorials
Volkswagen Golf
(2008-2012 /
Golf 6, MK 6, 5K1, Golf VI)
To install the reversing camera on the Volkswagen Golf 6, connect the camera wiring to the car radio, routing all wires under the seals or beneath th…

Volkswagen Golf
(2012-2019 /
MK 7, Golf 7, Golf VII)
This guide shows how to install the reversing camera kit for rear visibility when parking on the Volkswagen Golf seventh series. First, adapt the rev…
Volkswagen Golf
(2003-2008 /
Golf 5, MK 5, Golf V)
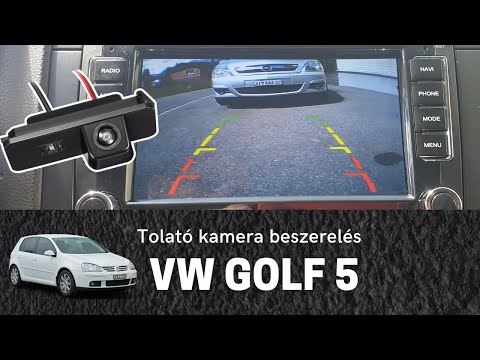
In this brief guide, you will see the steps to install the reversing camera for parking manoeuvres on the Volkswagen Golf. First, obtain the suitable…
Other guides you may be interested in
|
How to Reset the Tire Pressure Light on a MG ZS?
On the instrument cluster of the MG ZS, the tire pressure light that appears can be reset by inflating the tires to the correct pressure: this value will be indicated on the sticker attached to the driver's door pillar. Once the tires have been properly inflated, you can turn on the instrument cluster and navigate through the menu until you find the option that indicates tire pressure: if this screen shows the new values, the light will turn off; otherwise, you will need to drive for a few miles so that the sensors can read the new values and turn off the light afterward. by ScegliAuto More videos
|
|
For advertising on this site Write to info@scegliauto.com
ScegliAuto is not responsible for any inaccuracy of the data in the lists. To report any inaccuracy or your business (if you own the business in question), please write to info@scegliauto.com
Number of seconds to generate the page: 0.122
(c) ScegliAuto 2026 - info@scegliauto.com - Privacy policy VAT number: IT01247470535 |
