
|
Do it yourself
| |||
| ||||


Removing the Rear Seats of the Golf 4
Model: Volkswagen Golf
Golf IV, Golf 4, MK 4
- Years:
1997, 1998, 1999, 2000, 2001, 2002, 2003
Video tutorial
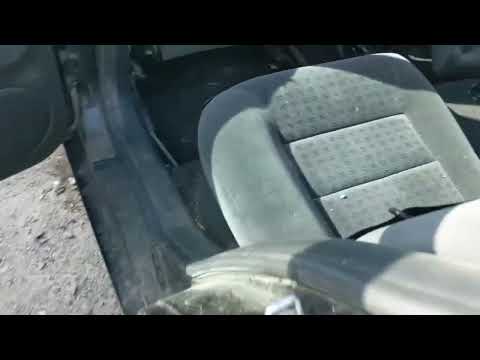
To remove the rear seats of the Golf 4, first ensure the car is safely positioned and immobilised on a flat surface. Start by removing the seat base. Pull the seat base outwards (parallel to the floor). Once done, rotate it around the hinge (near the lower front edge) upwards and unclip the two hinges from the corresponding hooks on the body beneath the seat. Now, you can remove the seat base. Repeat the same process to remove the other half of the seat. Finally, to remove the two backrests, lower them (just press the button at the back, top, outer side). Once fully lowered, use a screwdriver to lever out the outer hinge pin from its housing, and you can then extract the backrest after removing the inner pin from its housing.
Updated on 20 March 2026 by ScegliAuto
Related tutorials
Volkswagen Golf
(1997-2003 /
Golf IV, Golf 4, MK 4)
This guide briefly explains how to remove and replace the rear seats from a Volkswagen Golf GTI, following these simple steps. First, open the rear d…

Volkswagen Golf
(2003-2008 /
Golf 5, MK 5, Golf V)
To replace the rear seats on the Volkswagen Golf, open the tailgate to access the boot: here you will find the screws that secure the rear seat backs…
Volkswagen Golf
(1997-2003 /
Golf IV, Golf 4, MK 4)
In this brief guide, you will find instructions to remove the rear seats from a Volkswagen Golf, as well as from a Jetta, following the steps outline…
Other guides you may be interested in
|
Where to Find and How to Remove the Spare Wheel of a Peugeot 5008?
The spare wheel of a Peugeot 5008 is located under the rear of the vehicle. To remove it, you need to lift the third row of seats to access the fixing bolt that holds the spare wheel in position. Using the correct spanner, proceed to unscrew the fixing bolt until the wheel is no longer secured. At this point, you can extract the spare wheel from underneath the vehicle. Once you have completed this step, you are free to fit the spare wheel. Ensure you correctly remount the spare wheel and securely tighten the fixing bolt when you are finished. by ScegliAuto More videos
|
|
For advertising on this site Write to info@scegliauto.com
ScegliAuto is not responsible for any inaccuracy of the data in the lists. To report any inaccuracy or your business (if you own the business in question), please write to info@scegliauto.com
Number of seconds to generate the page: 0.037
(c) ScegliAuto 2026 - info@scegliauto.com - Privacy policy VAT number: IT01247470535 |
