
|
Do it yourself
| |||
| ||||


Removing the Front Headlights on a Volkswagen Polo 6R
Model: Volkswagen Polo
Polo 5, Polo V, MK 5, MK V, 6R
- Years 2009-2017
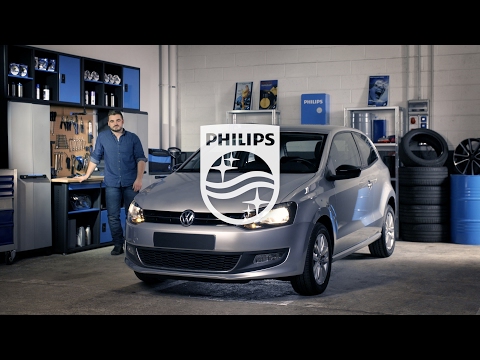
In this guide, you will learn how to remove the front headlights on a Volkswagen Polo mk5 (or 6R). Working with the engine off and the handbrake engaged, lift the bonnet and secure it. Unscrew the two T20 Torx bolts clearly shown in the video that secure the headlight assembly from the top. Disconnect the headlight connector by pulling it towards the cabin and pressing the tabs, then push the headlight out of its housing with some force. Done! It couldn't be easier; as you can see, this operation is suitable even for less experienced mechanics. Repeat the process on the other headlight.
Updated on 18 April 2026 by ScegliAuto
Video tutorial
Related tutorials
Volkswagen Polo
(1994-2003 /
MK III, Polo III, Polo 3, MK 3, 6N)
Let’s replace the front headlight bulbs on your Volkswagen Polo. Here’s how to remove them from the headlights. Open the front bonnet by pulling the …

Volkswagen Polo
(2009-2017 /
Polo 5, Polo V, MK 5, MK V, 6R)
In this short guide, we will see the instructions on how to adjust the height of the front headlights of the Volkswagen Polo. First, let's open the c…
Volkswagen Polo
(2009-2017 /
Polo 5, Polo V, MK 5, MK V, 6R)
As shown in this tutorial, replacing the front headlamp bulbs on a Volkswagen Polo 5 is a very simple and quick operation. First, ensure the key is n…
Other guides you may be interested in
|
How to change the time on a Toyota Yaris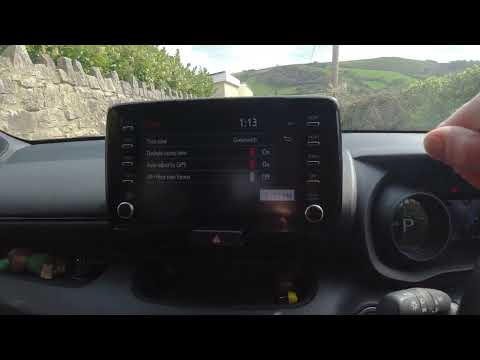
In this video we see how to change the time on a Toyota Yaris, specifically when it comes to switching from daylight saving time to standard time and vice versa. We go to the multifunction screen and press "settings": from there we go to press the clock, simply click on daylight saving time, and the clock will change the time for us, without doing anything else. All we want to do is just adjust the time format to 12 or 24 hours, as is customary in the area where we live: for example in Anglo-Saxon countries it is common to set the time to 12 hours, while in the European Union it is normally set to 24 hours. by ScegliAuto More videos
|
|
For advertising on this site Write to info@scegliauto.com
ScegliAuto is not responsible for any inaccuracy of the data in the lists. To report any inaccuracy or your business (if you own the business in question), please write to info@scegliauto.com
Number of seconds to generate the page: 0.373
(c) ScegliAuto 2026 - info@scegliauto.com - Privacy policy VAT number: IT01247470535 |
