
|
Do it yourself
| |||
| ||||


How to Reset the Engine Warning Light on a Volkswagen Polo 9N
Model: Volkswagen Polo
MK IV, Polo IV, Polo 4, MK 4, 9N
- Years 2001-2009
In this video tutorial, you will learn how to reset the engine warning light on a Volkswagen Polo 9N and 9N2 in simple and quick steps. To reset the light, you will need a diagnostic tool to connect to the OBD port; in this case, we have an application that allows us to diagnose errors by selecting the make, model, and engine type, enabling us to reset the light as shown in the video. Turn on the vehicle's ignition and follow the indicated procedure; you can reset the light only after performing the scan.
Updated on 25 April 2026 by ScegliAuto
Video tutorial
Related tutorials
Volkswagen Polo
(2009-2017 /
Polo 5, Polo V, MK 5, MK V, 6R)
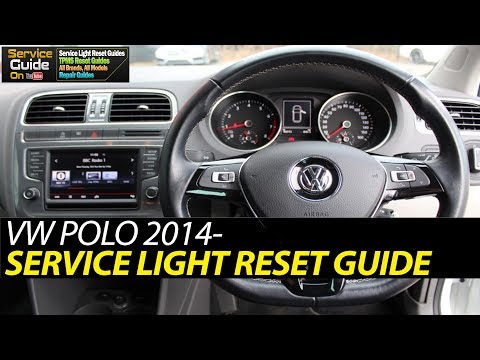
Today, you will discover step-by-step instructions on how to reset the service light for the routine maintenance oil change on a Volkswagen Polo. Fir…
Volkswagen Polo
(2009-2017 /
Polo 5, Polo V, MK 5, MK V, 6R)
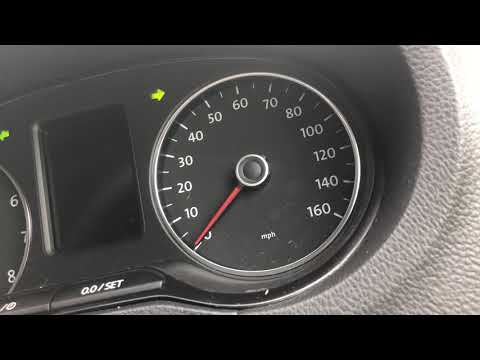
This video tutorial will show you how to reset the engine oil maintenance light on a fifth-generation Volkswagen Polo. This reset should be performed…
Volkswagen Polo
(2009-2017 /
Polo 5, Polo V, MK 5, MK V, 6R)
Today's video tutorial shows how to reset the service light on a fifth-generation Volkswagen Polo, produced from 2009 to 2017. This operation should …
Other guides you may be interested in
|
Frequently Asked QuestionsFuses Location and Diagram for the Volkswagen Crafter
In this guide, we will look at the location of the fuse boxes and how to find their diagram for the Volkswagen Crafter. First, get inside the vehicle and start by removing the plastic cover found under the steering wheel, to access the internal fuse box; you will find another fuse box in the engine compartment by removing the plastic cover located next to the battery. At this point, use the owner's manual to find the fuse diagram, which will allow you to identify and replace any blown fuses with new ones! by ScegliAuto More videos
|
|
For advertising on this site Write to info@scegliauto.com
ScegliAuto is not responsible for any inaccuracy of the data in the lists. To report any inaccuracy or your business (if you own the business in question), please write to info@scegliauto.com
Number of seconds to generate the page: 0.085
(c) ScegliAuto 2026 - info@scegliauto.com - Privacy policy VAT number: IT01247470535 |
