
|
Do it yourself
| |||
| ||||


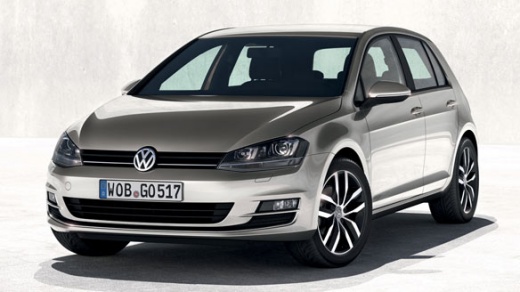
How to Replace the Indicator Bulbs on a Volkswagen Golf 7
Model: Volkswagen Golf
MK 7, Golf 7, Golf VII
- Years:
2012, 2013, 2014, 2015, 2016, 2017, 2018, 2019
Video tutorial
In today's video, we will see how to replace the indicator/fog light bulbs on a Volkswagen Golf. To make your job easier, you can rotate in the opposite direction to where you need to work. Now, remove the plastic panel located in the wing. Disconnect the power connector and then turn counterclockwise to release the bulb. You can now replace it with another H1 LED bulb. Remember to purchase bulbs that have a heatsink to avoid overheating the area. The bulb must have a resistor to prevent errors in the car's onboard computer.
Updated on 10 May 2026 by ScegliAuto
Related tutorials
Volkswagen Golf
(2012-2019 /
MK 7, Golf 7, Golf VII)
In today's video, see how to replace the corner indicator lights on a Volkswagen Golf 7. The bulbs required are standard H7, available online or at a…
Volkswagen Golf
(2012-2019 /
MK 7, Golf 7, Golf VII)
In today's tutorial, you will learn how to remove and replace the number plate bulbs on a Volkswagen Golf by following the instructions below. First,…

Volkswagen Golf
(2003-2008 /
Golf 5, MK 5, Golf V)
Here’s how to replace the front headlight bulbs on a Volkswagen Golf 5: open the bonnet by pulling the lever located at the bottom right of the dashb…
Other guides you may be interested in
|
How to Open the Bonnet on the Mitsubishi L200?
In this tutorial, you will see how to open the bonnet on the Mitsubishi L200, a very simple operation that follows the standard procedure. First, open the vehicle and go to the driver's side, then locate the lever at the lower outer area, just in front of the pedals, and pull it. Next, position yourself in front of the bonnet, locate the second lever above the Mitsubishi logo, and push it to the right, releasing the latch. At this point, you can fully lift the bonnet and secure it with the prop rod. by ScegliAuto More videos
|
|
For advertising on this site Write to info@scegliauto.com
ScegliAuto is not responsible for any inaccuracy of the data in the lists. To report any inaccuracy or your business (if you own the business in question), please write to info@scegliauto.com
Number of seconds to generate the page: 0.091
(c) ScegliAuto 2026 - info@scegliauto.com - Privacy policy VAT number: IT01247470535 |
