
|
Do it yourself
| |||
| ||||


How to Remove the Headlining of the Volkswagen Golf VI
Model: Volkswagen Golf
MK 6, Golf VI, Golf 6, 5K1
- Years 2008-2012
Removing the headlining of the Golf VI is a very complex task, as there are numerous fixed points that will significantly slow down the work. There are indeed the handles, the pillars, the seatbelt trim, the sun visors, and all the quick connectors. Once completely removed, all the fabric must be taken off, the internal foam scraped off completely - which cannot be re-glued - and when it is nice and smooth, we must cover it, patiently, ten centimetres at a time to avoid air bubbles, with the new fabric and remake all the holes where the quick connectors are. Once the job is done, we must reattach the headlining to the metal roof and everything will be in place. Forget about re-gluing it, as the glue will leave moisture stains that will never dry, two-component adhesives will burn the fabric, and silicone will create horrible lumps.
Updated on 9 June 2026 by ScegliAuto
Video tutorial
Related tutorials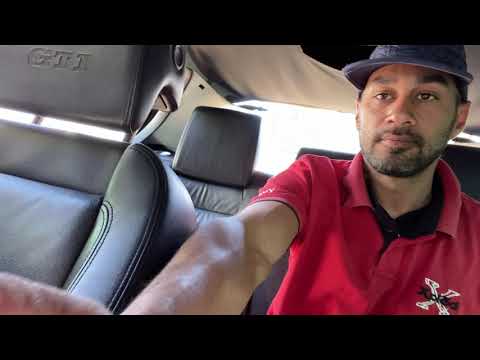
Volkswagen Golf
(2008-2012 /
MK 6, Golf VI, Golf 6, 5K1)
In this video tutorial, learn how to remove the headlining on the sixth generation Volkswagen Golf, GTI version. First, get in the vehicle and start …

Volkswagen Golf
(2008-2012 /
MK 6, Golf VI, Golf 6, 5K1)
On the Volkswagen Golf, you can replace the headlining by unscrewing the screws and detaching the clips that prevent the removal of the corresponding…
Volkswagen Golf
(2003-2008 /
MK 5, Golf 5, Golf V)
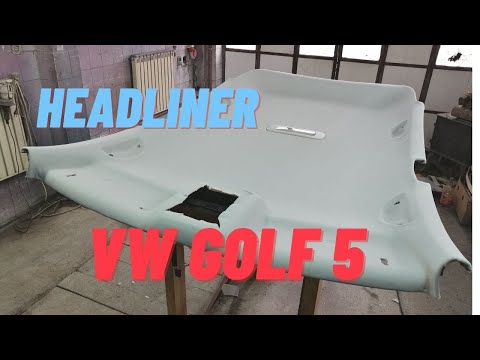
This video provides step-by-step instructions for removing the headlining panel, commonly referred to as the headlining, on the Volkswagen Golf fifth…
Other guides you may be interested in
|
How to set the clock on the Opel Zafira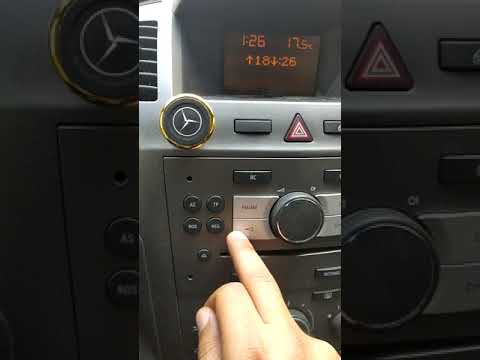
Setting the clock to the current Italian time on an Opel Zafira model B vehicle is a very simple operation, which can also be done independently thanks to our short instructional video. The first thing to do is to turn on the instrument panel and then press the SETTING button, located on the central dashboard. Once inside the menu, use the buttons to navigate to the clock setting. Change the hours and minutes and restart the instrument panel. If the clock is not updated, a diagnosis may be necessary at the radio or vehicle control unit. by ScegliAuto More videos
|
|
For advertising on this site Write to info@scegliauto.com
ScegliAuto is not responsible for any inaccuracy of the data in the lists. To report any inaccuracy or your business (if you own the business in question), please write to info@scegliauto.com
Number of seconds to generate the page: 0.196
(c) ScegliAuto 2026 - info@scegliauto.com - Privacy policy VAT number: IT01247470535 |
