
|
Do it yourself
| |||
| ||||


Auxiliary Belt Tensioner Removal
Model: Volkswagen Golf
MK 5, Golf 5, Golf V
- Years 2003-2008
To carry out this removal, it is advisable to lift the vehicle on a hydraulic lift and remove the front right wheel, but before lifting it, remove the plastic cover present on the engine. Then remove the caps on the wheel fixing pins and unscrew them; remove the protective cover under the engine, the wheel arch liner, and all pieces of the broken auxiliary belt. To access the fixing pin of the tensioner, it is necessary to remove the air filter housing, the electric fan assembly, and the intercooler air duct: only in this way is there enough space to access the fixing pin of the tensioner located behind the air conditioning compressor. Once this pin is unscrewed, remove the old tensioner and install the new one by reversing the process.
Updated on 13 February 2026 by ScegliAuto
Video tutorial
Related tutorials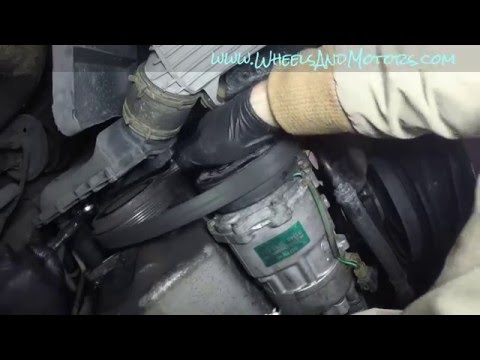
Volkswagen Golf
(1997-2003 /
Golf IV, MK 4, Golf 4)
Replacing the auxiliary belt is quite simple to carry out; the most delicate part is adjusting the tensioner. Open the bonnet and remove the plastic …
Volkswagen Golf
(1997-2003 /
Golf IV, MK 4, Golf 4)
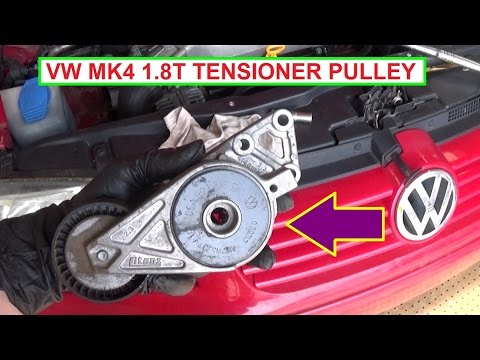
In this tutorial, you will learn how to remove and replace the tensioner and serpentine belt on a Volkswagen Golf with a 1.8 turbo engine. First, ope…
Volkswagen Golf
(2003-2008 /
MK 5, Golf 5, Golf V)
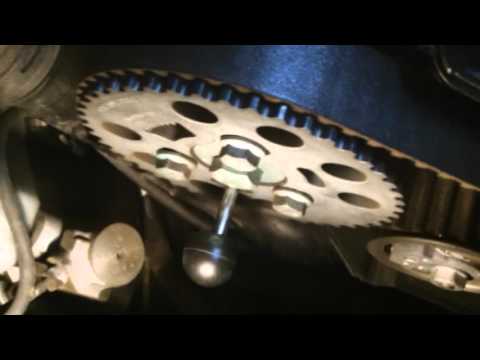
If you want to tackle the replacement of the timing belt, it is absolutely essential to have good general mechanical knowledge and especially to have…
Other guides you may be interested in
|
How to Replace the External Wing Mirror on a Ford C MAX
In the event of a breakage, it will be necessary to replace the external wing mirror on the 2011 Ford C MAX. This operation is easily performed independently. Start by removing the internal cover of the mirror with a plastic lever. Then, use a socket wrench to remove the securing pins. Once the pins are removed, you can take off the mirror, but not before disconnecting the power connectors. Then proceed to fit the new mirror. First, connect the connectors and then secure the mirror to its housing with the pins. Refit the plastic cover and test the operation of the electric mirror using the controls. by ScegliAuto More videos
|
|
For advertising on this site Write to info@scegliauto.com
ScegliAuto is not responsible for any inaccuracy of the data in the lists. To report any inaccuracy or your business (if you own the business in question), please write to info@scegliauto.com
Number of seconds to generate the page: 0.160
(c) ScegliAuto 2026 - info@scegliauto.com - Privacy policy VAT number: IT01247470535 |
