
|
Do it yourself
| |||
| ||||


Instructions for Replacing the Front Headlamp Glass
Model: Volkswagen Bora
MK 6
- Years 1998-2005
If the headlamps appear particularly yellowed and cloudy, you can always try to restore them with a special polishing or painting; however, if they are severely deteriorated, it is possible to replace just the glass rather than the entire headlamp. To carry out this operation, it is necessary to disassemble the headlamps, which also requires removing the trim and the bumper. Once the headlamps are removed, take off the metal clips and heat the glass along the edges to soften the adhesive and detach the glass itself. Then, remove the inner frame and attach it to the new glass, securing it with silicone along the edges. Clean the edge of the headlamp from any residue of the old adhesive, then apply more silicone before positioning the new glass, which should also be secured with the metal clips.
Updated on 15 February 2026 by ScegliAuto
Video tutorial
Related tutorials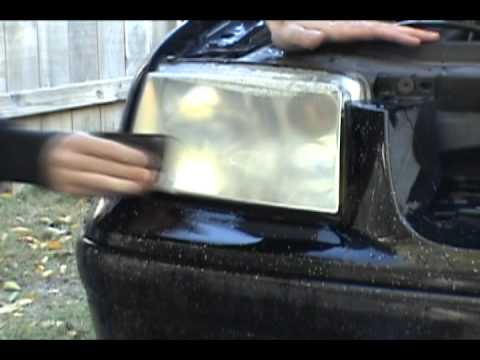
Volkswagen Bora
(1998-2005 /
MK 6)
If the headlamp glass becomes foggy, instead of replacing the entire unit, you can polish the glass to restore it to like new condition. For this job…
Volkswagen Bora
(1998-2005 /
MK 6)
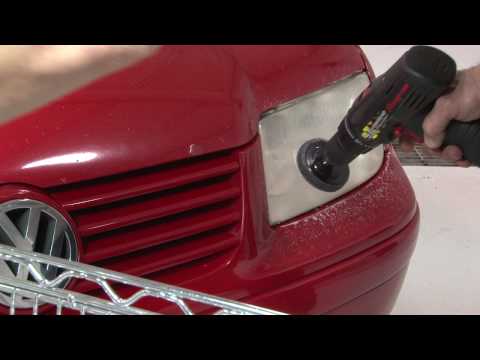
If the headlamp glass becomes cloudy, instead of replacing the entire unit, you can polish the glass. For this job, you will need a drill equipped wi…

Volkswagen Bora
(1998-2005 /
MK 6)
Open the front bonnet and detach the trim by disconnecting the release tab of the bonnet. Remove the front bumper and wheel arch liners; at this poin…
Other guides you may be interested in |
How to Remove the Front Bumper of the Citroën C4 Picasso?
To remove the front bumper of the Citroën C4 Picasso, you need to take out all the rivets and screws that secure the piece to its housing: these screws are located inside the wheel arches of the front wheels and at the central upper part of the bumper itself. Once all these fastening elements have been removed, you can detach the bumper from its seat by disconnecting the connectors inside and then insert the new replacement part. The new part can then be secured and connected properly, ensuring it is correctly fixed in place. by ScegliAuto More videos
|
|
For advertising on this site Write to info@scegliauto.com
ScegliAuto is not responsible for any inaccuracy of the data in the lists. To report any inaccuracy or your business (if you own the business in question), please write to info@scegliauto.com
Number of seconds to generate the page: 0.055
(c) ScegliAuto 2026 - info@scegliauto.com - Privacy policy VAT number: IT01247470535 |
